Wine Barrel Dining Table
Did you know you can transform old wine barrels into wine barrel furniture? With a little patience, skill and ingenuity, you can make furniture out of old wine barrels. You can even create a rustic or country-style home with these pieces.
Recycling old wine barrels has become popular these days due to the renewed interest in reducing waste. I am one of the numerous people who are proud advocates of recycling and reclaiming old items and turning them into beautiful treasures. A wine barrel is a great resource for recycled wood. The many wooden planks used to make the barrel body as well as the top and bottom part of the barrel could be useful in making different furniture pieces.
Making furniture out of old oak barrels are great DIY projects you can do over the weekend. Wine barrels are made of oak wood which is strong and versatile, making it great for building durable furniture.
People used to just throw away old wine barrels. But unlike those people, I decided not to throw away any old barrels because I knew I could find a way to repurpose them. The antique and stylish look of a wine barrel makes it a great material for DIY furniture.
Here are some of the ideas for upcycling and repurposing old wine barrels.
Wine Barrel Furniture Ideas
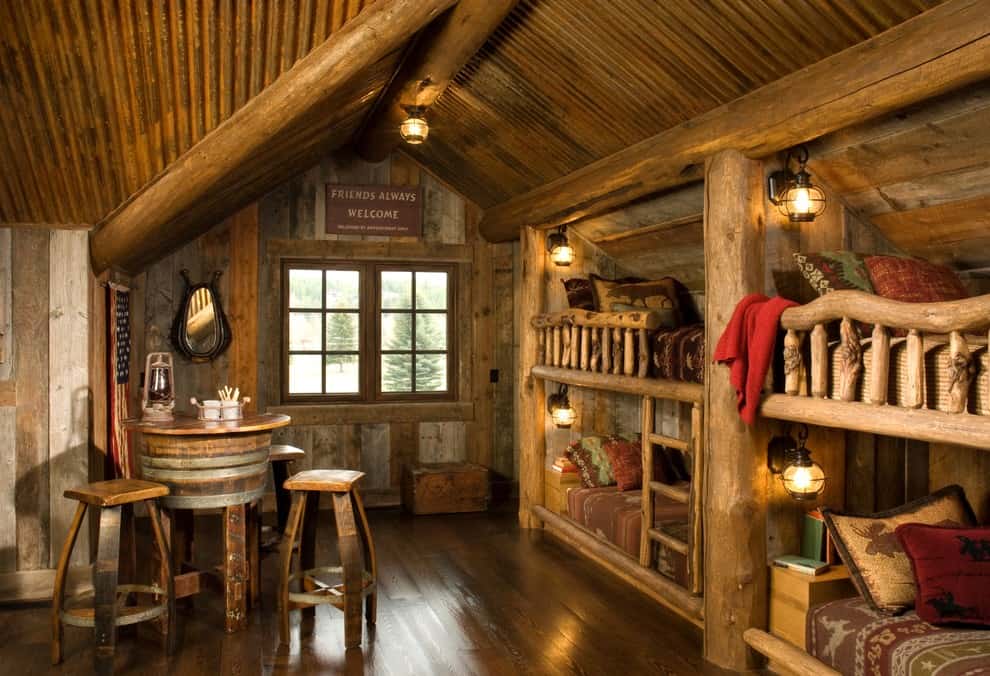
The wood from old wine barrels can be cut into different pieces to create all kinds of wine barrel furniture.
From a wine barrel wine rack to a wine barrel guitar stand, there are so many ways to repurpose a good wine barrel. You can create side tables, stools, coffee tables, lounge chairs, doggie beds and even dinner tables.
Using wine barrels as landscape elements give an outdoor living space a unique look. They also make great furniture pieces for indoor use. Although I have seen other people coat them with colorful paints, I want my DIY wine barrels to have their original colors.
But if you are planning to make your own wine barrel chair or table, you should remember the following tips.
- An important thing to remember is to choose wine barrels that are sturdy and strong.
- Choose wine barrels that are clean and are free from cracks, soft areas, holes, and other deformities.
- Before using the barrels, scrub them clean and dry them completely.
- Varnish the barrel inside and out so that it will keep its strength and beauty
- Choose oak barrels rather than other types of barrels. Oak barrels are stronger and have beautiful natural grain that looks great.
- Buy wine barrels from reputable dealers.
Wine Barrel Tables
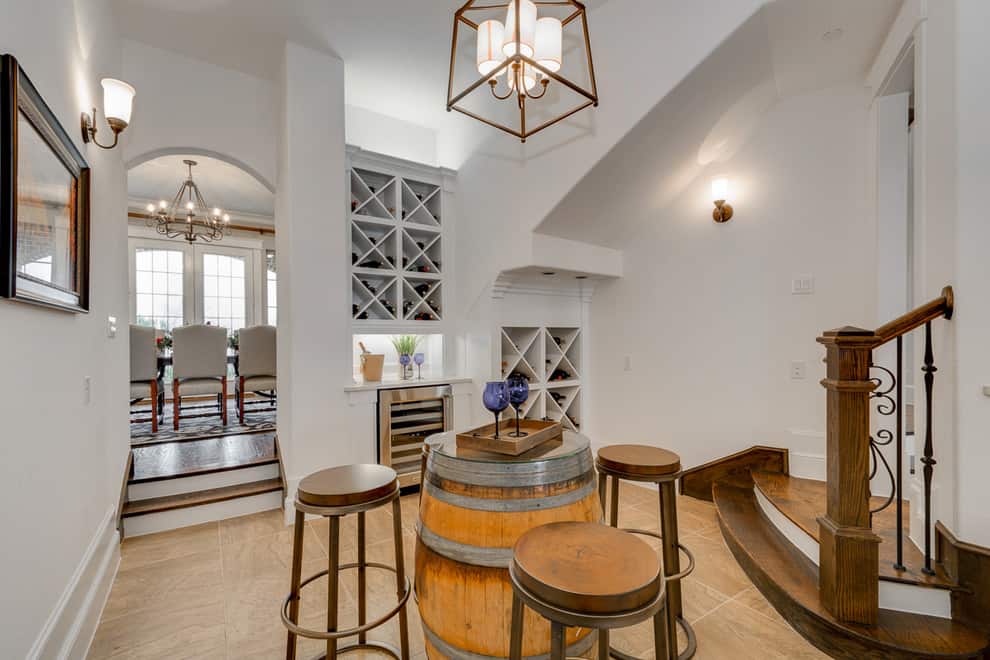
Instead of throwing away or storing wine barrels, you can use your DIY talents to turn them into different kinds of furniture. And one of the most popular use of recycled wine barrels is a table.
A Simple Wine Barrel Dining Table
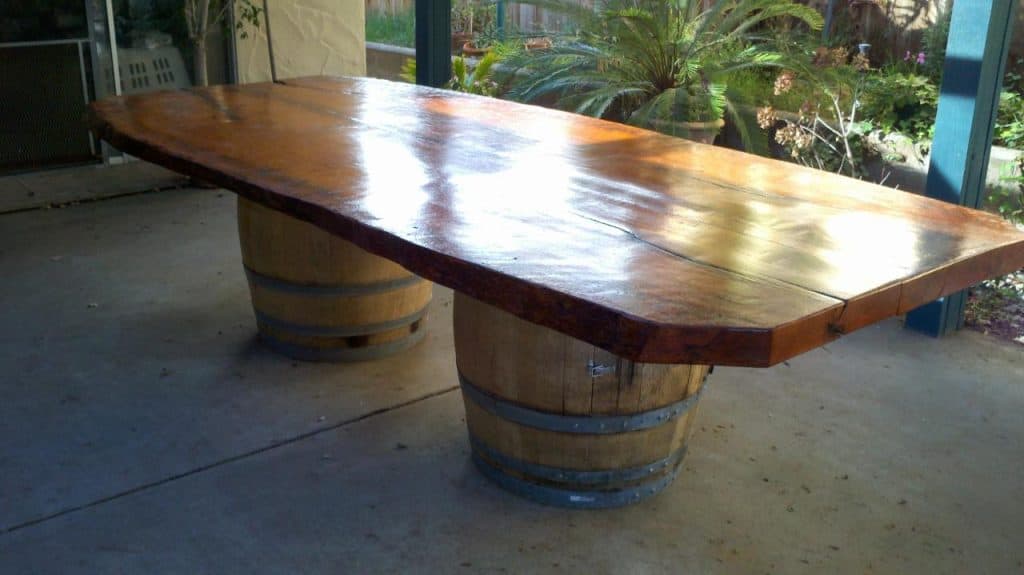
Get two or three wine barrels, clean them up and dry them. Stain and varnish them with your preferred color. They can make great table legs for a dining table or a side table in your dining area or living room.
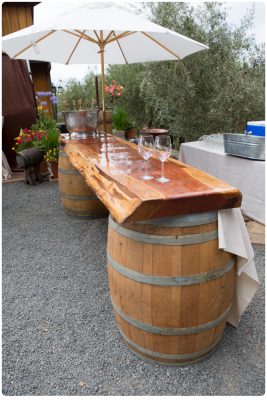
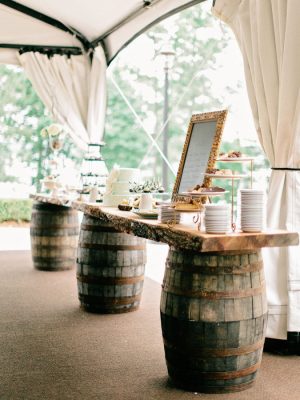
Just lay a large rectangular hardwood on top or a thick piece of rectangular glass over these barrels and voila! You have a brand new dining table.
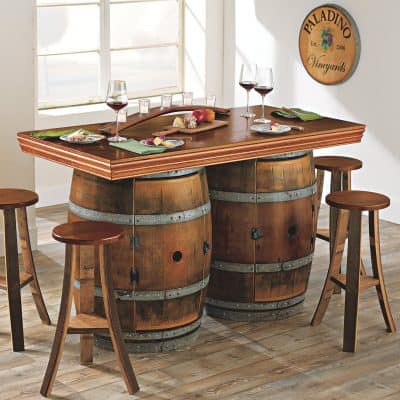
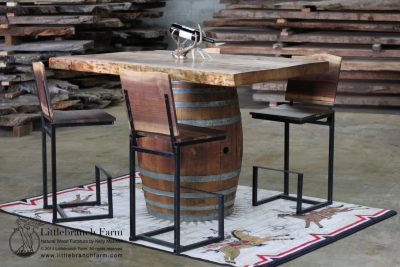
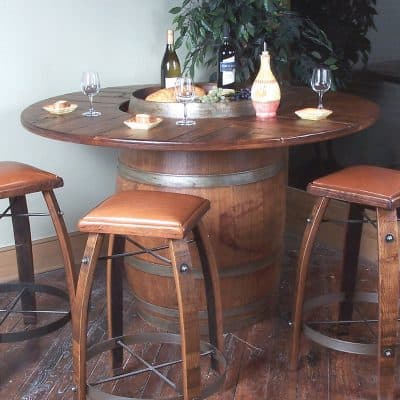
Bolt the top part of the table to the wine barrels for added strength.
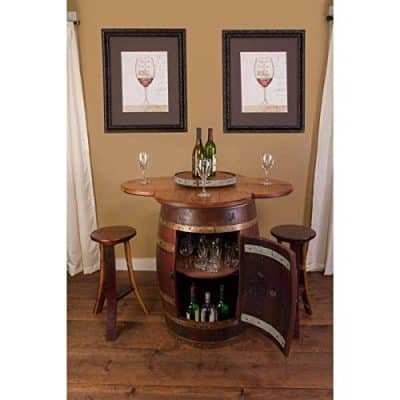
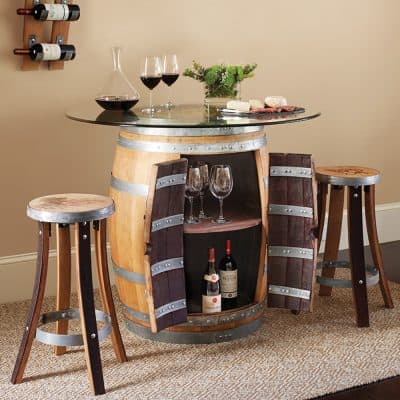
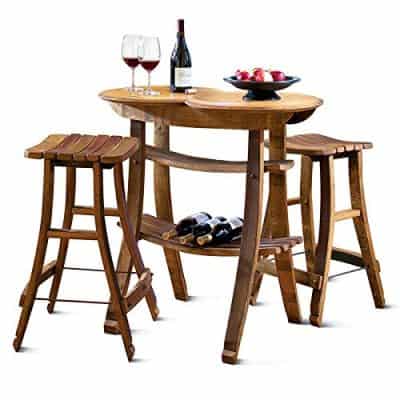
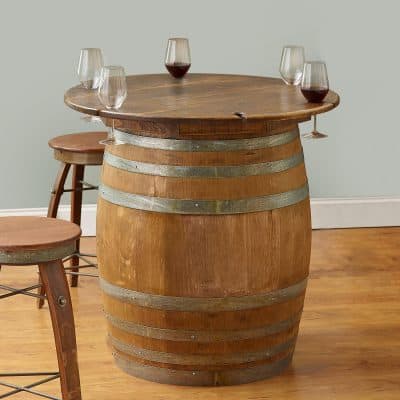
Remember this important tip: Choose sturdy and clean wine barrels for this table.
Wine Barrel Side Table
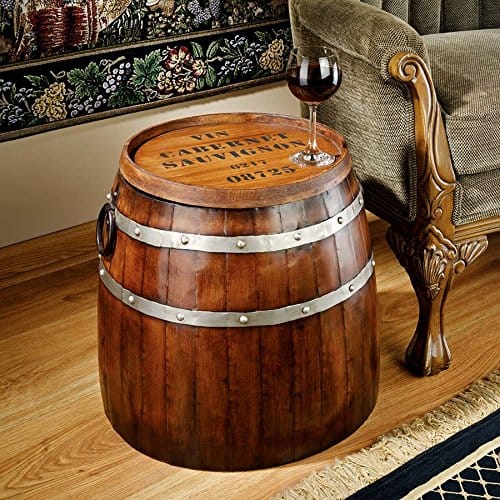
A large oak barrel can make two side tables! Clean and dry a large barrel and cut it crosswise into two halves. You can stain and varnish the two side tables or just use them the way they are.
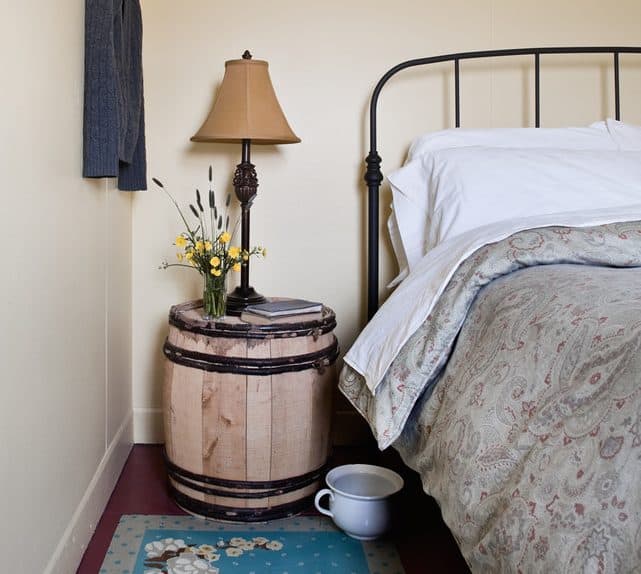
You can use these wine barrel tables as side tables for your bedroom, too!
Wine barrel coffee table
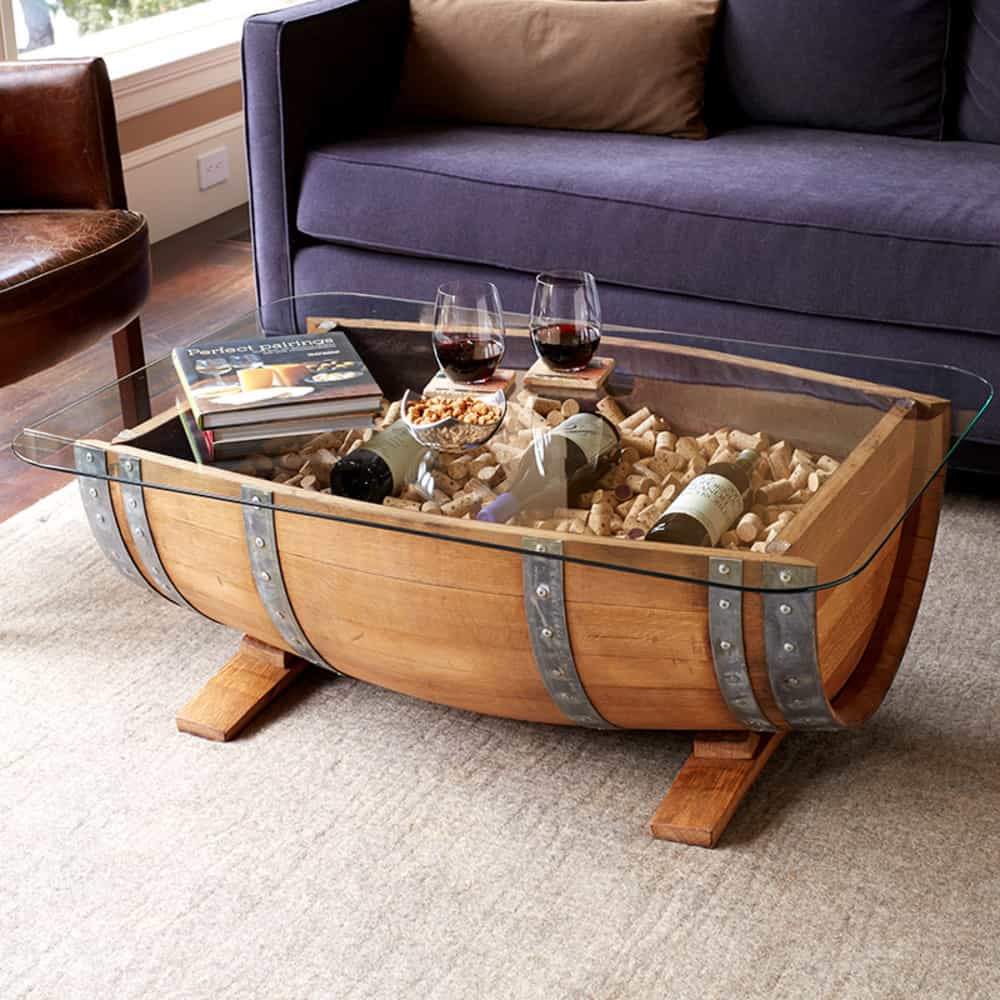
Perhaps the easiest way to repurpose a wine barrel is to turn it into a coffee table. Mine currently sits in my back deck. This is my new favorite part of the house next to the kitchen. It is where I spend my afternoons reading a good book and sipping tea or coffee depending on my current mood.
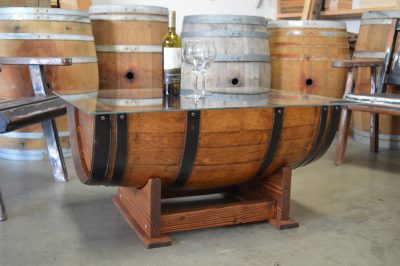
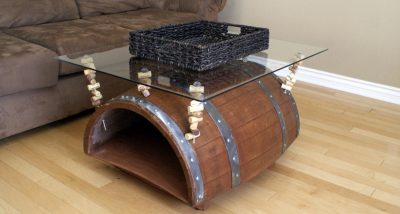
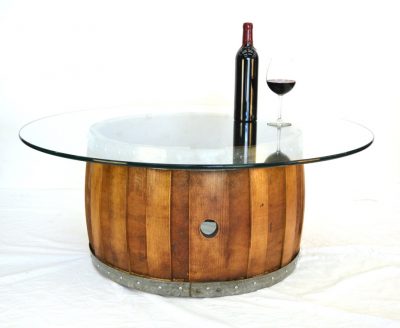
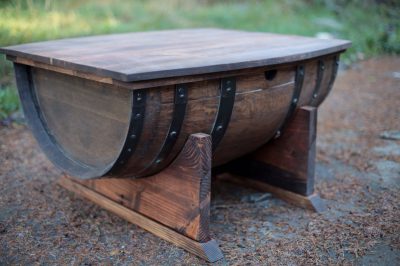
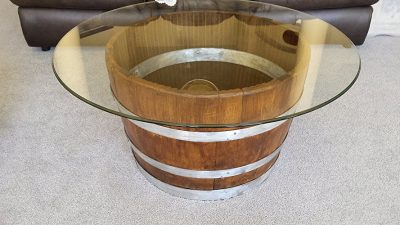
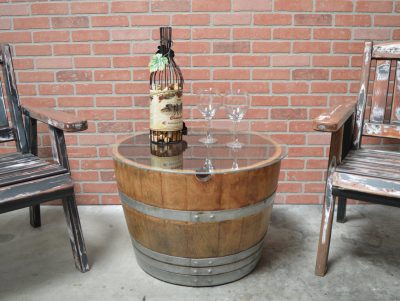
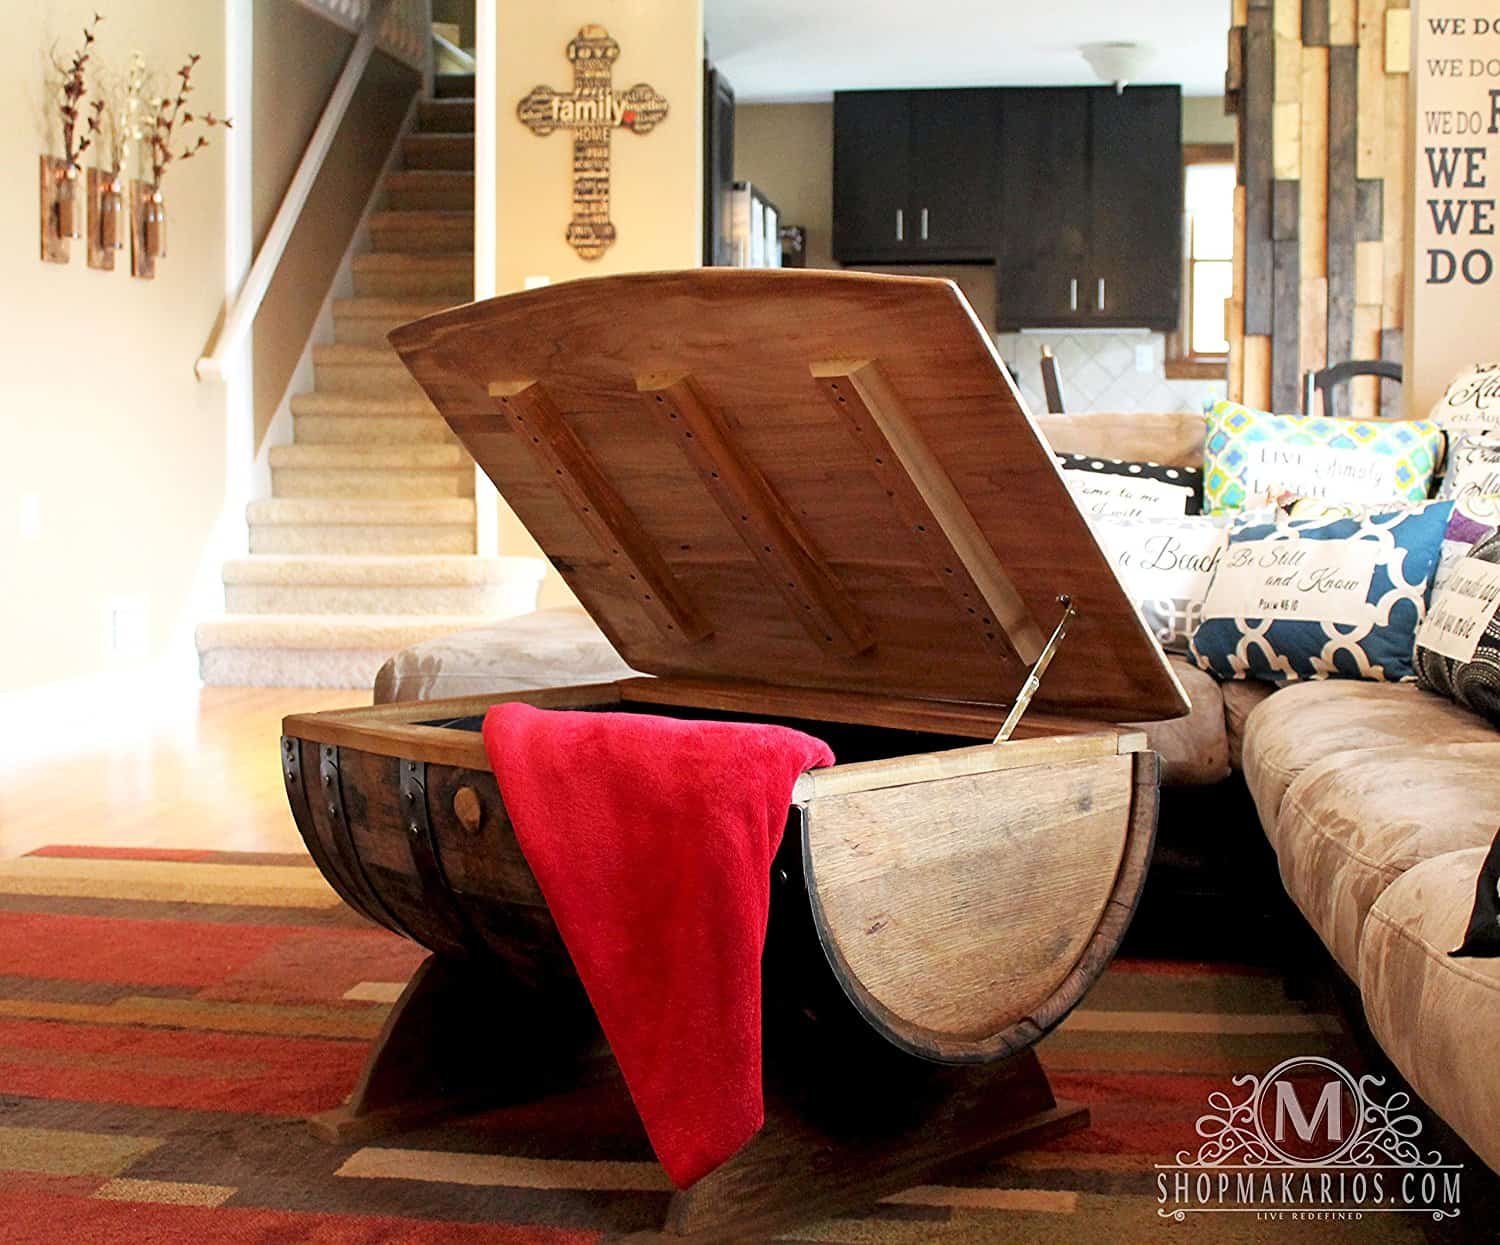
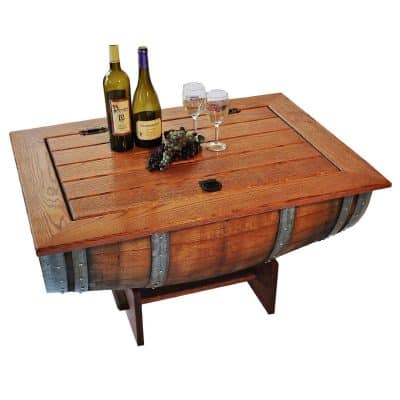
Cut a large oak barrel lengthwise and use one half as a table plus a storage space for your favorite wine. Cut open the barrel and lay it down four small pieces of wood as feet for the wine barrel table. Place a rectangular glass as the table top and fill the insides of the barrel with your favorite wine. Not only will you have a cocktail table at your living room but you will also get the chance to display your wine collection too!
Wine Barrel Chairs
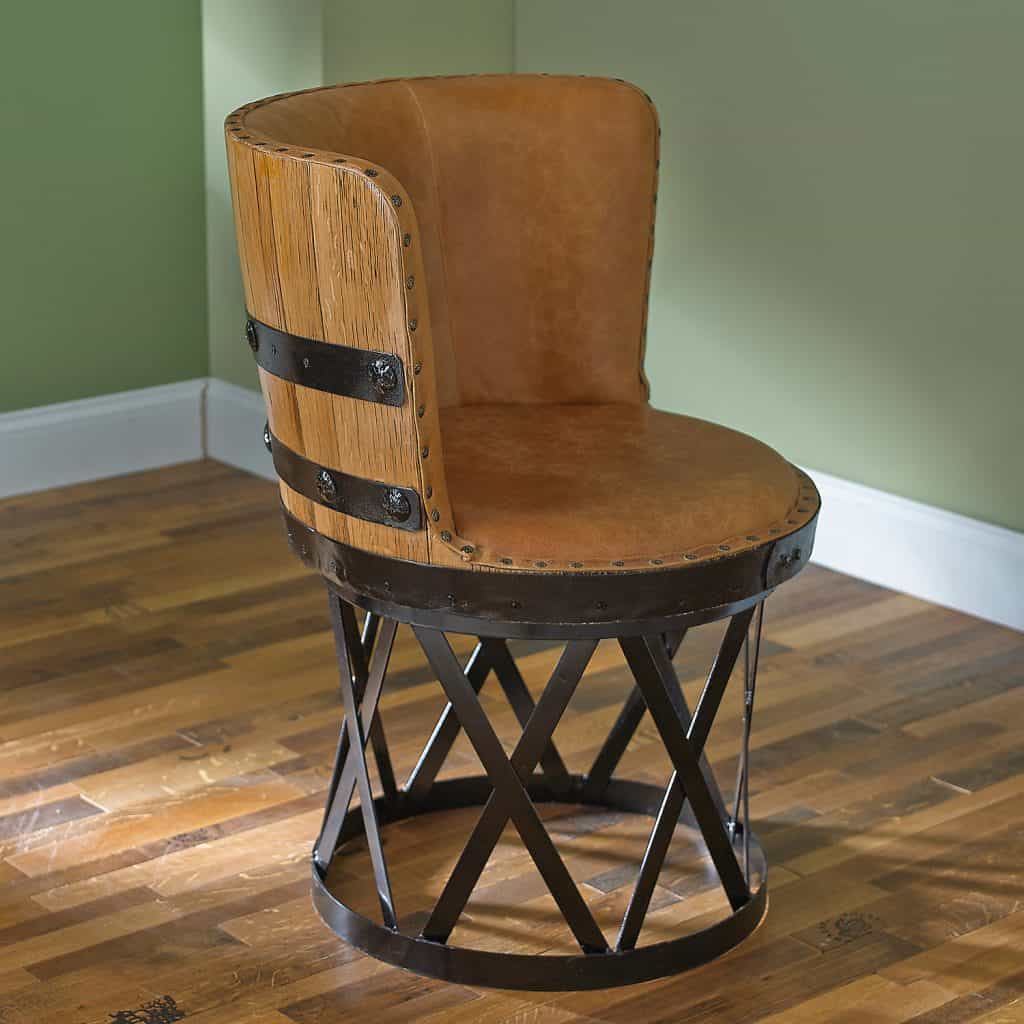
Complement your wine barrel table with wine barrel chairs. Wine barrel chairs are a smart and beautiful addition to any kind of home décor. They spark friendly conversation because of their uniqueness. They get a lot of attention whenever someone sees my home for the first time.
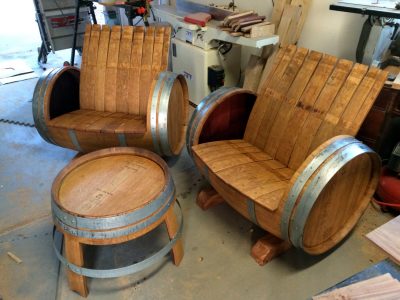
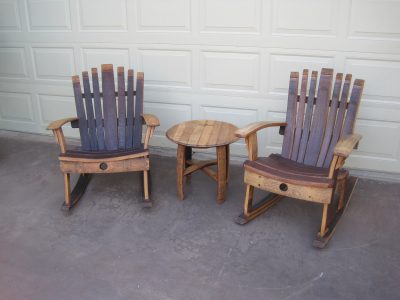
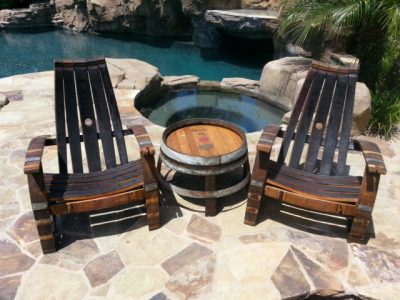

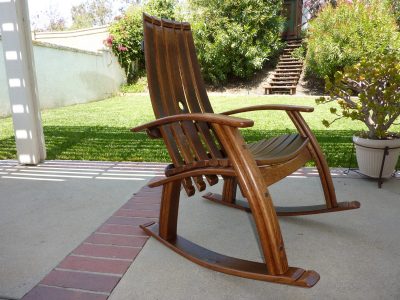
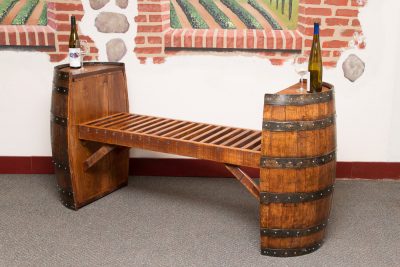
My home has a rustic appeal but many visitors say the bar area looks pretty elegant because of the wine barrel furniture. They are surprised when I tell them that they are made from real wine barrels.
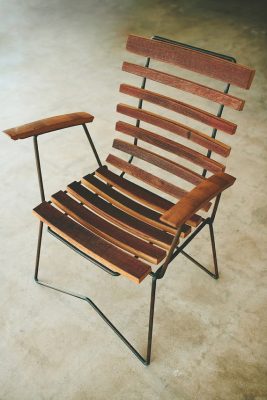
A quick side story…
Unfortunately, I noticed that the upholstery in my wine barrel lounge chairs have started to show signs of wear and tear. I needed to reupholster them. It is a bit expensive and inconvenient since I have about a half a dozen of them. I figured I can just do the reupholstering myself.
I tried reupholstering one of the wine barrel chairs just so I can find out if I can do this on my own.
The first thing I did was of course peel off all the old fabric from the chairs. I detached the seat and the seat back by removing the screws. It's fortunate that it was attached this way because if it was nailed together I would most probably find it harder to take it apart.
I used the old upholstery fabric as my pattern for the new seat covers. I used 1-inch upholstery foam on the seat and ½-inch foam for the backrest.
Using adhesive spray, I glued the cushions onto the seat and the backrest.
Next I traced the old upholstery fabric around a polyester batting then I cut them out. I used the cut out batting to wrap around the seat, tucking the edges under it using staples. The same process is done with the backrest.
The most exciting part is wrapping the upholstery fabric around the seat and the backrest. This needs to be done meticulously or else the result will be a wrinkled upholstery. I had to check the seat from time to time as I stapled the fabric in place.
Luckily, I made a decent job at reupholstering a single wine barrel lounge chair. I can say that it was a bit exhausting but the satisfaction and sense of pride I got from doing it on my own is worth the sweat.
Make your own chairs
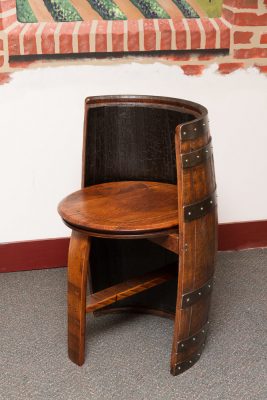
If you want to try making your own chairs, they aren't really that hard to make. Possibly the most common home furniture that can be made out of old wine barrels are chairs. The body of a wine barrel is cut in half and a cross section of the wall of the barrel is also cut to create two chairs out of a single wine barrel. A suitable seat cover is placed along with some cushions and the wine barrel is stained and varnish.
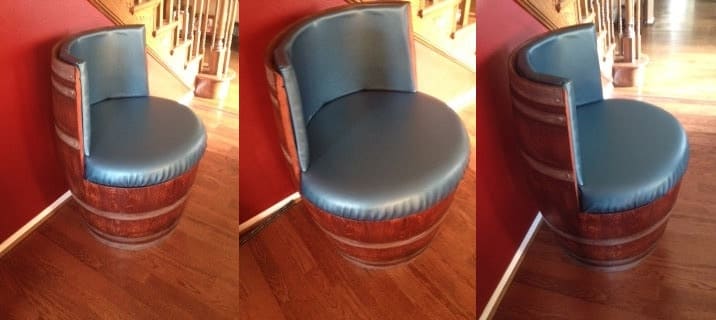
A regular-sized wine barrel can make a great chair and they are really easy to make.
- You just cut out the barrel to make a chair with a backrest
- Put a circular piece of wood for the base of the chair.
- Put a cushion for the back and seat and there you have it, a comfortable wine barrel seat.
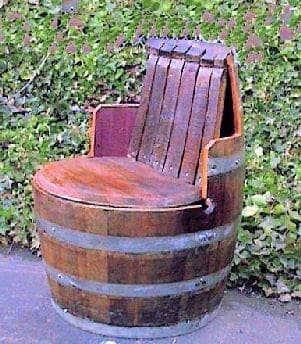
Make four seats to complement a square table or circular barrel table.
Wine Barrel Storage Cabinets
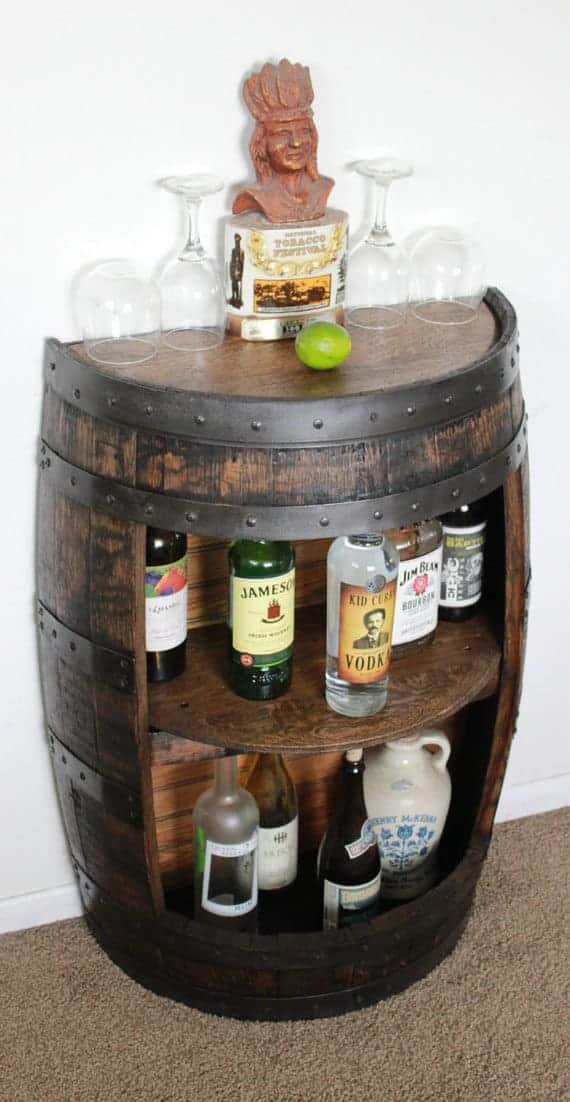
Wine barrels can also be used as storage cabinets. The barrel is cut in half and the two halves are held together by a hinge just like you would a cabinet door.
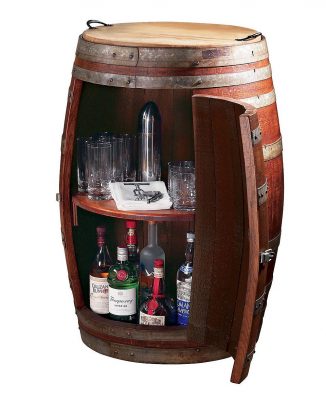
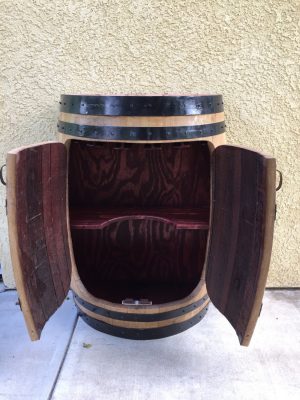
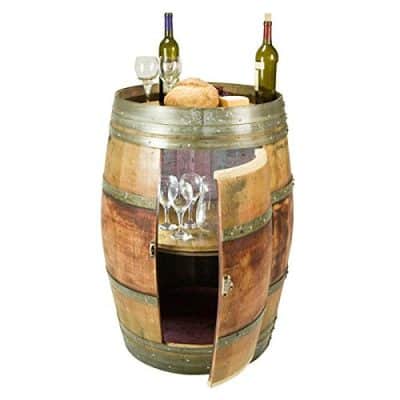
The inner part of the wine barrel is cleaned and small pieces of wood are used to create sections or shelves. The entire piece is stained and varnished.

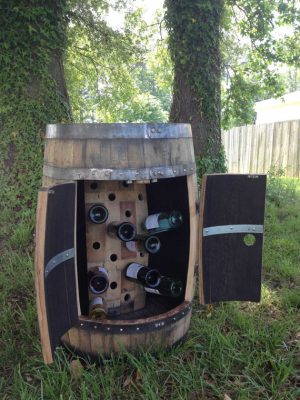
The top part is fitted with a small flat top where you can set different items. This cabinet can be used to store wine bottles, wine glasses and other wine drinking accessories.
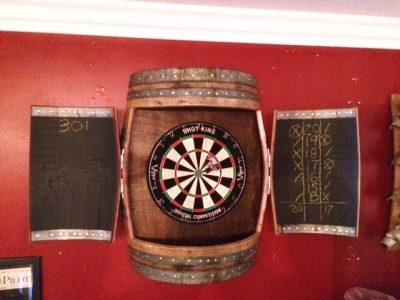
Wine Barrel Lazy Susan
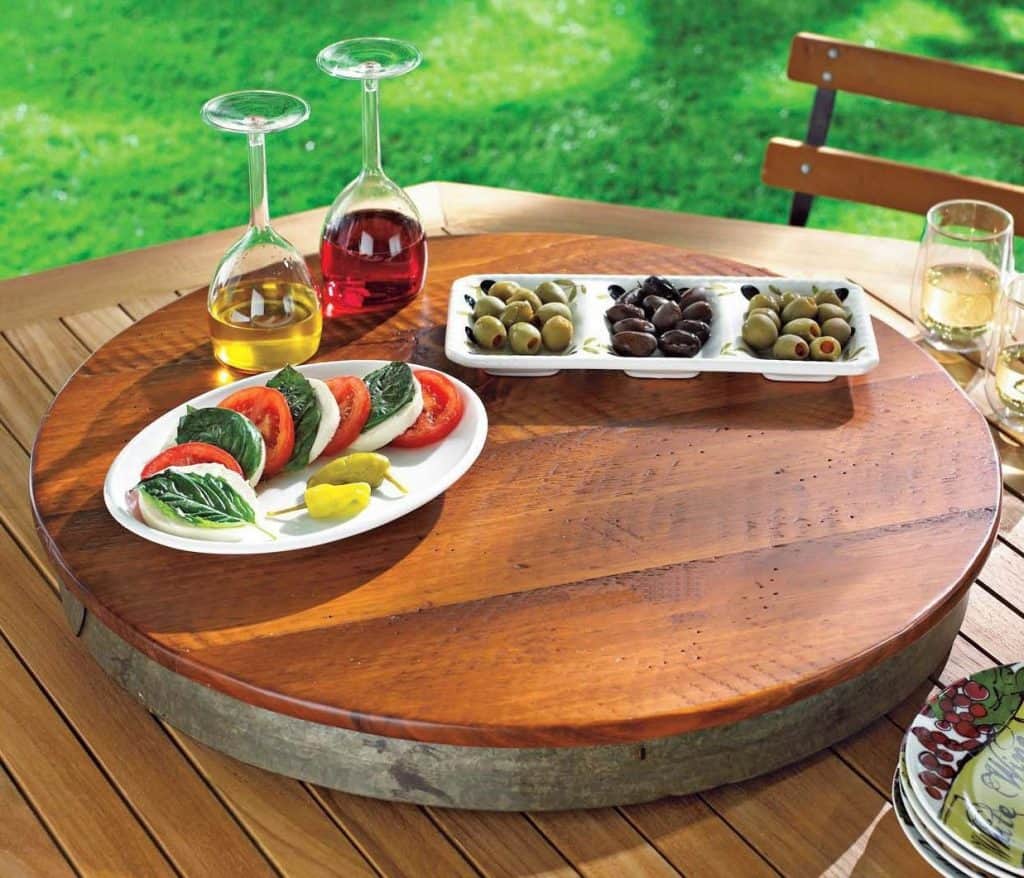
Have you ever heard of a wine barrel lazy Susan? A lazy Susan is a rotating circular server at the middle of a table. It is where you place food or condiments for all the people seated on the table to eat or use. Lazy Susans are believed to have been invented by the Chinese for use in Chinese restaurants.
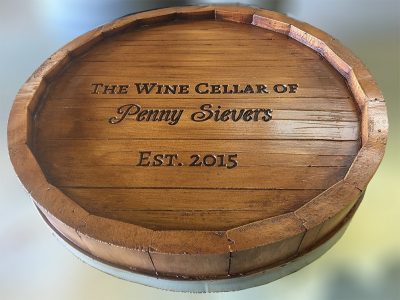
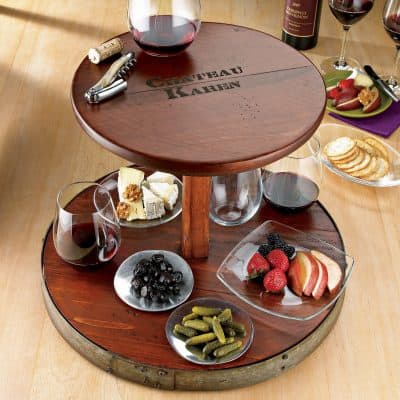
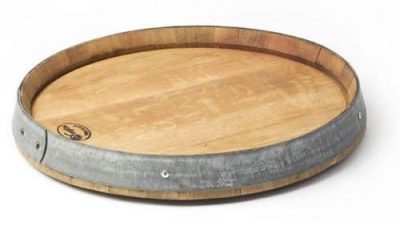
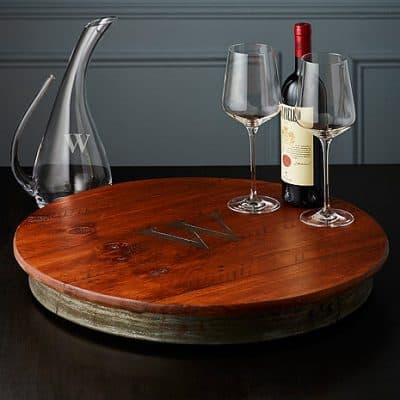
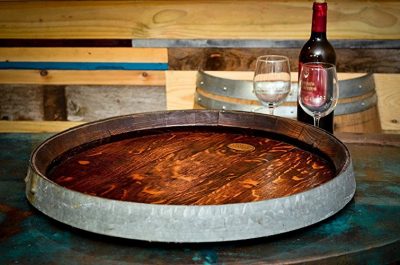
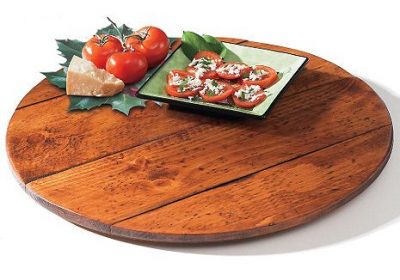
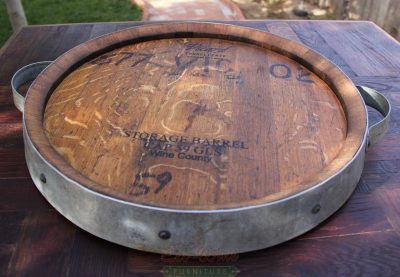
Lazy Susans made of wine barrels is very popular. The round top of a barrel is cut and then fitted with a rotating disc. The wood is treated, stained and varnished and painted or stained.
A DIY wine barrel lazy Susan is easy to make. You can make this as one of your DIY weekend projects.
- First, find an old wine barrel with the lid still intact.
- Cut the lid completely. You can also include the head hoop in the cut to make it look unique.
- After cutting the piece, inspect the round piece again.
- Remove all dirt and stains by cleaning with a scouring pad and some dishwashing liquid.
- Dry it out completely by leaving it under the sun. Drying it will also reduce the risk of developing molds and remove boring insects.
- After your Lazy Susan has dried out it is time to place the bearing assembly in the center of the wood. Bearing assemblies that are specifically for Lazy Susans come with their own screws and other installation hardware. Attach this part using the screws that come with it.
- Rotate the side that is not attached at about a one-quarter turn. Drill a hole all the way through the circle where you placed your mark.
- Place the big circle on any hard surface. Center the base, the bottom should be facing up on top of the bigger circle. Rotate the base and insert screws to attach the bearing plate. All four screws need to be attached.
- Varnish and dry your project and after a few hours your wine barrel lazy Susan is ready to serve you.
Wine Barrel Wine Rack
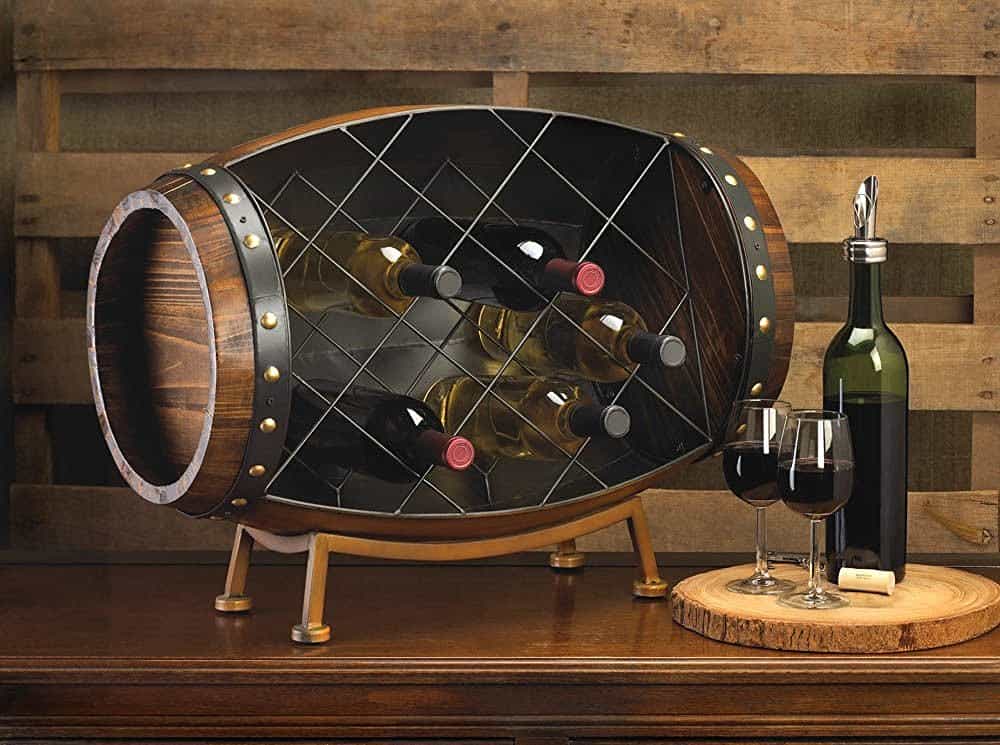
There is probably no better way to repurpose a wine barrel than to use it as a decorative wine display.
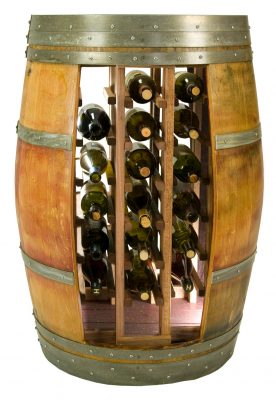
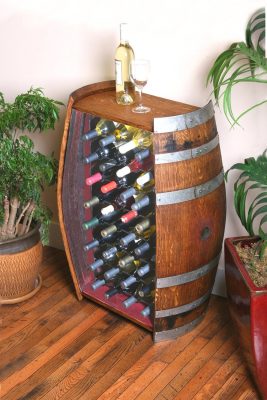
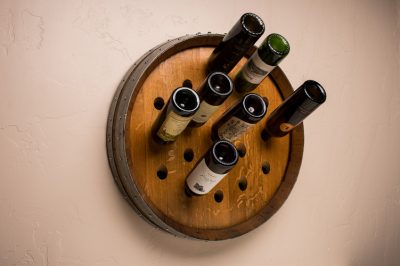
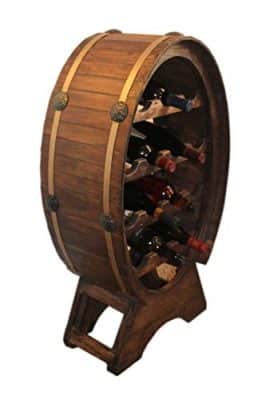
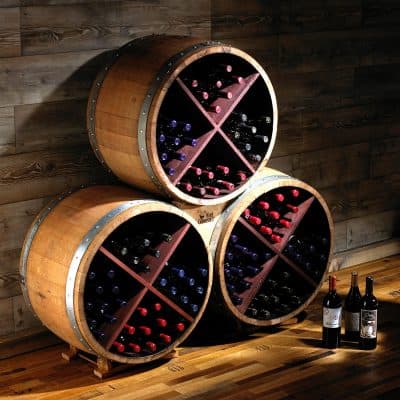
Just two staves of a still-sturdy wine barrel is enough to make a wall wine rack. The picture above shows bottles being supported by a metal cradle. I think it is possible to use the wine barrel metal hoops as bottle supports.
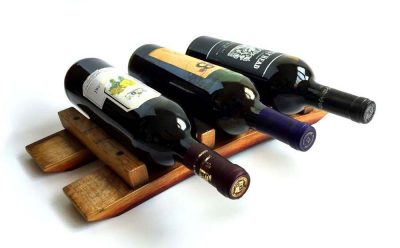
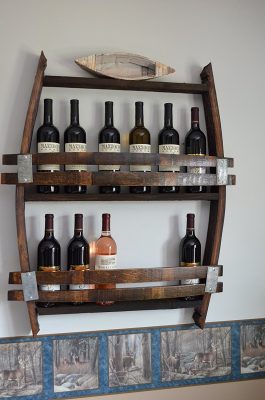
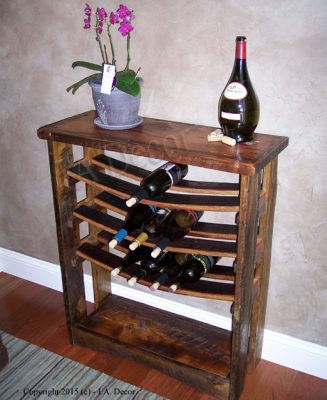
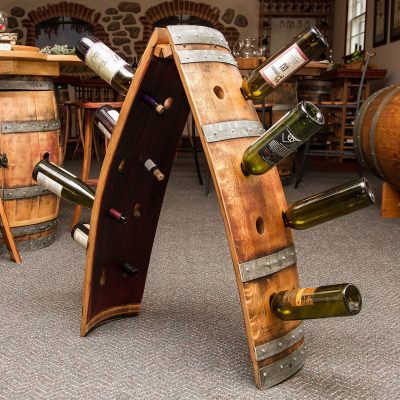
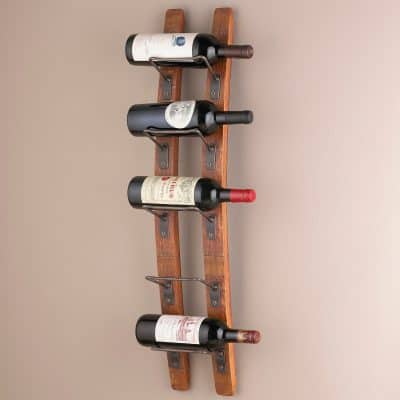
Here are more wine rack ideas you can make yourself and here are wine rack ideas you can buy.
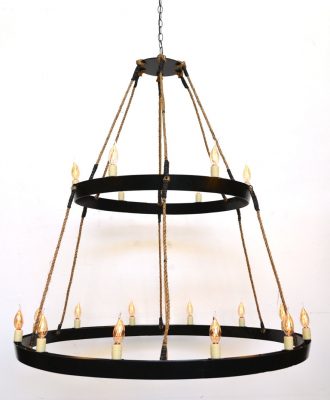
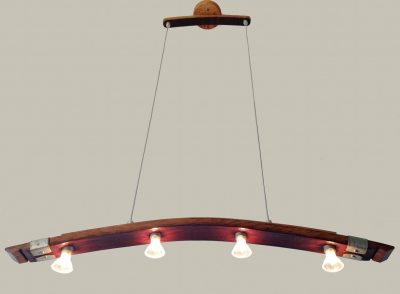
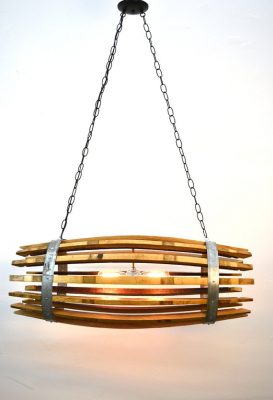
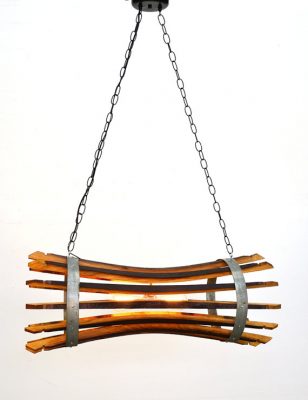
Wine Barrel Chandelier
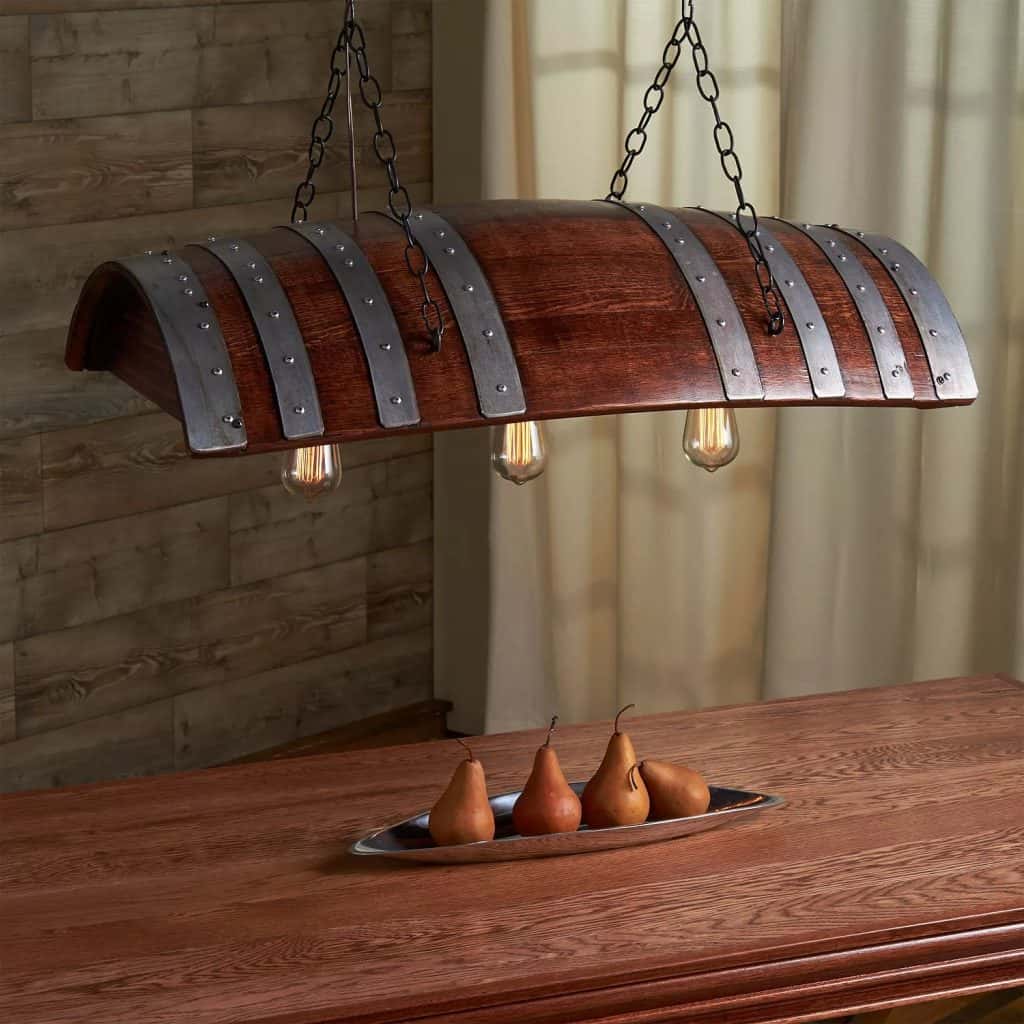
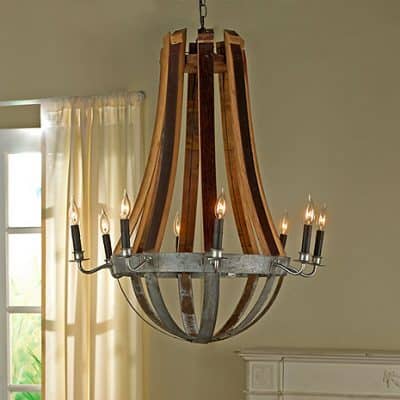
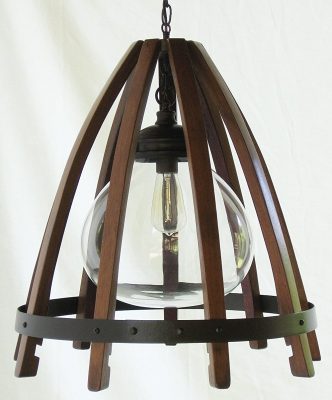
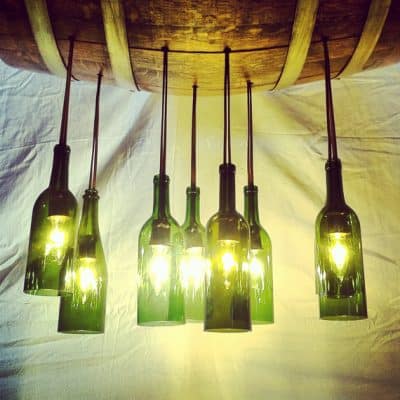
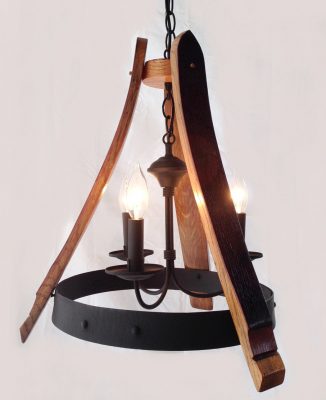
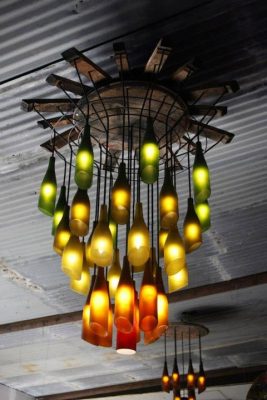
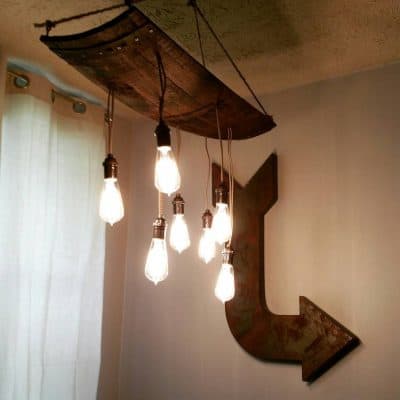
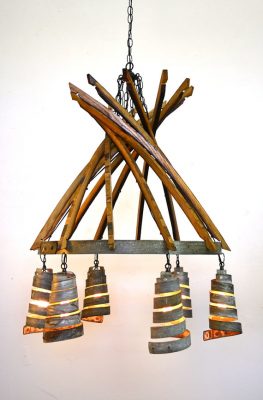
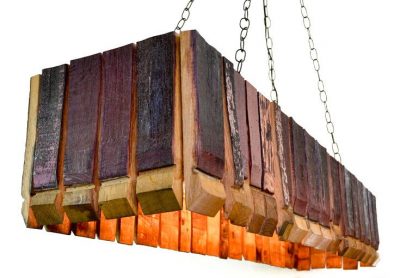
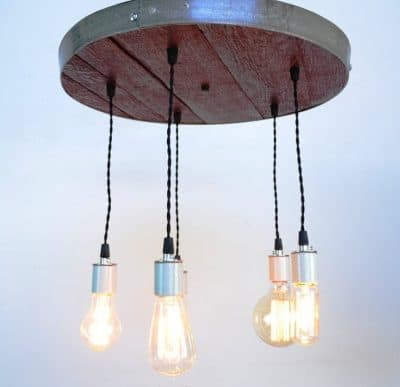
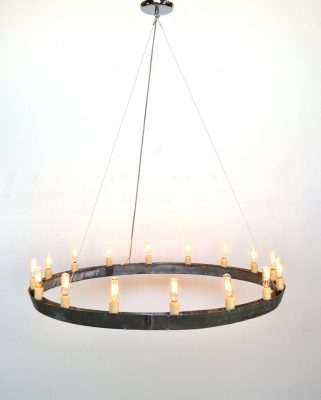
When it comes to light fixtures I'm not one to settle for the boring ones. I like big, beautiful chandeliers and graceful, shapely lamps. Have you ever thought of making a wine barrel chandelier? This is a great way to recycle old wine barrels plus add a rustic charm in your dining area or your living room. There are many ways to turn an old wine barrel into a unique chandelier.
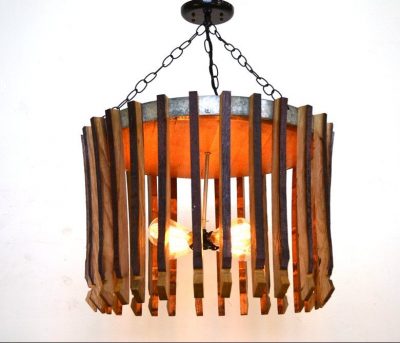
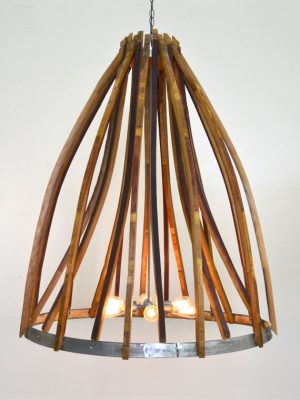
A chandelier can use any number of strips of wood as well as the other parts of a barrel. Depending on your design idea, you may need to totally remove every strip and plank of a barrel to use for a chandelier.
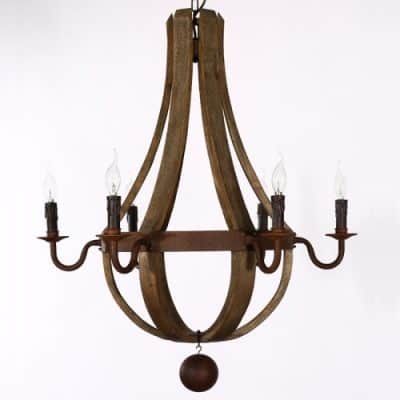
Here is a very simple chandelier design.
- Use six long strips of wood and connect them on the top to create the arms.
- The middle, and the largest part of the chandelier is made of the metal strip that is found at the top and bottom of the barrel.
- The strips end at the very bottom part of the chandelier and kept together with a plate or a rustic ornament; such as a metal bottom ball, spikes or a metal pendant.
- The electric lights are located at the ends of the chandelier's six metal arms. And to create a more rustic, and romantic, feel, you can replace electric lighting with candles instead.
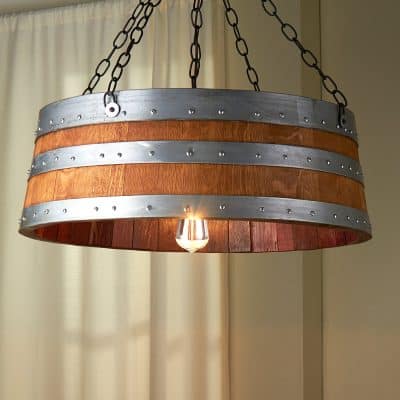
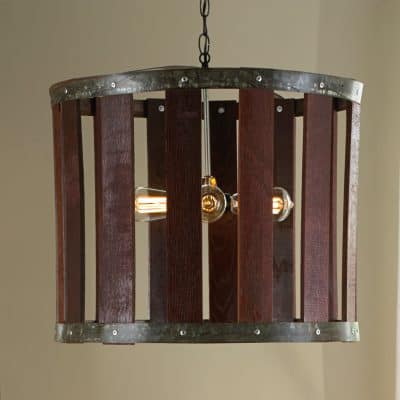
Here are are some more wine barrel chandelier ideas. Have fun checking out each chandelier!
Wine Barrel Bar Ideas
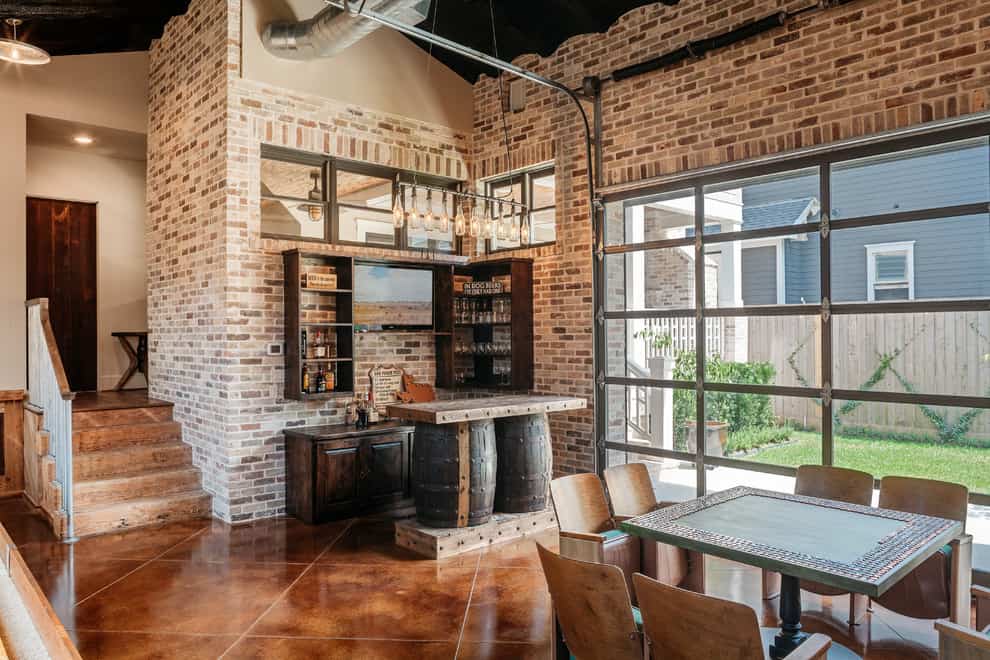
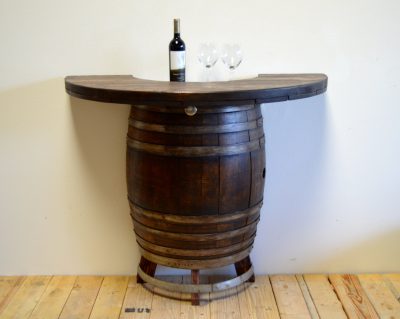
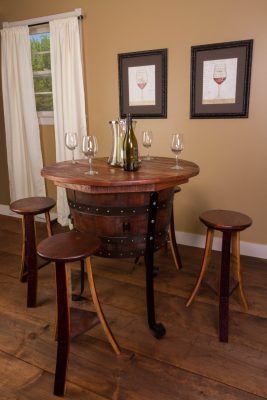
A wine barrel bar can be made out of a wine barrel (duh!). Wine barrels are made of sturdy oak wood. The metal bands that hold the barrel together are also durable and makes the barrel look even more attractive. The standard size of a good wine barrel makes it ideal to be repurpose into a rustic bar.
When I made my very first bar out of a wine barrel, I had a lot of fun although I needed to make a few revisions before I got it right. I forgot to secure the staves before working on them. Now I know that the staves need to be secured by hammering ¾ inch nails through the metal bands.
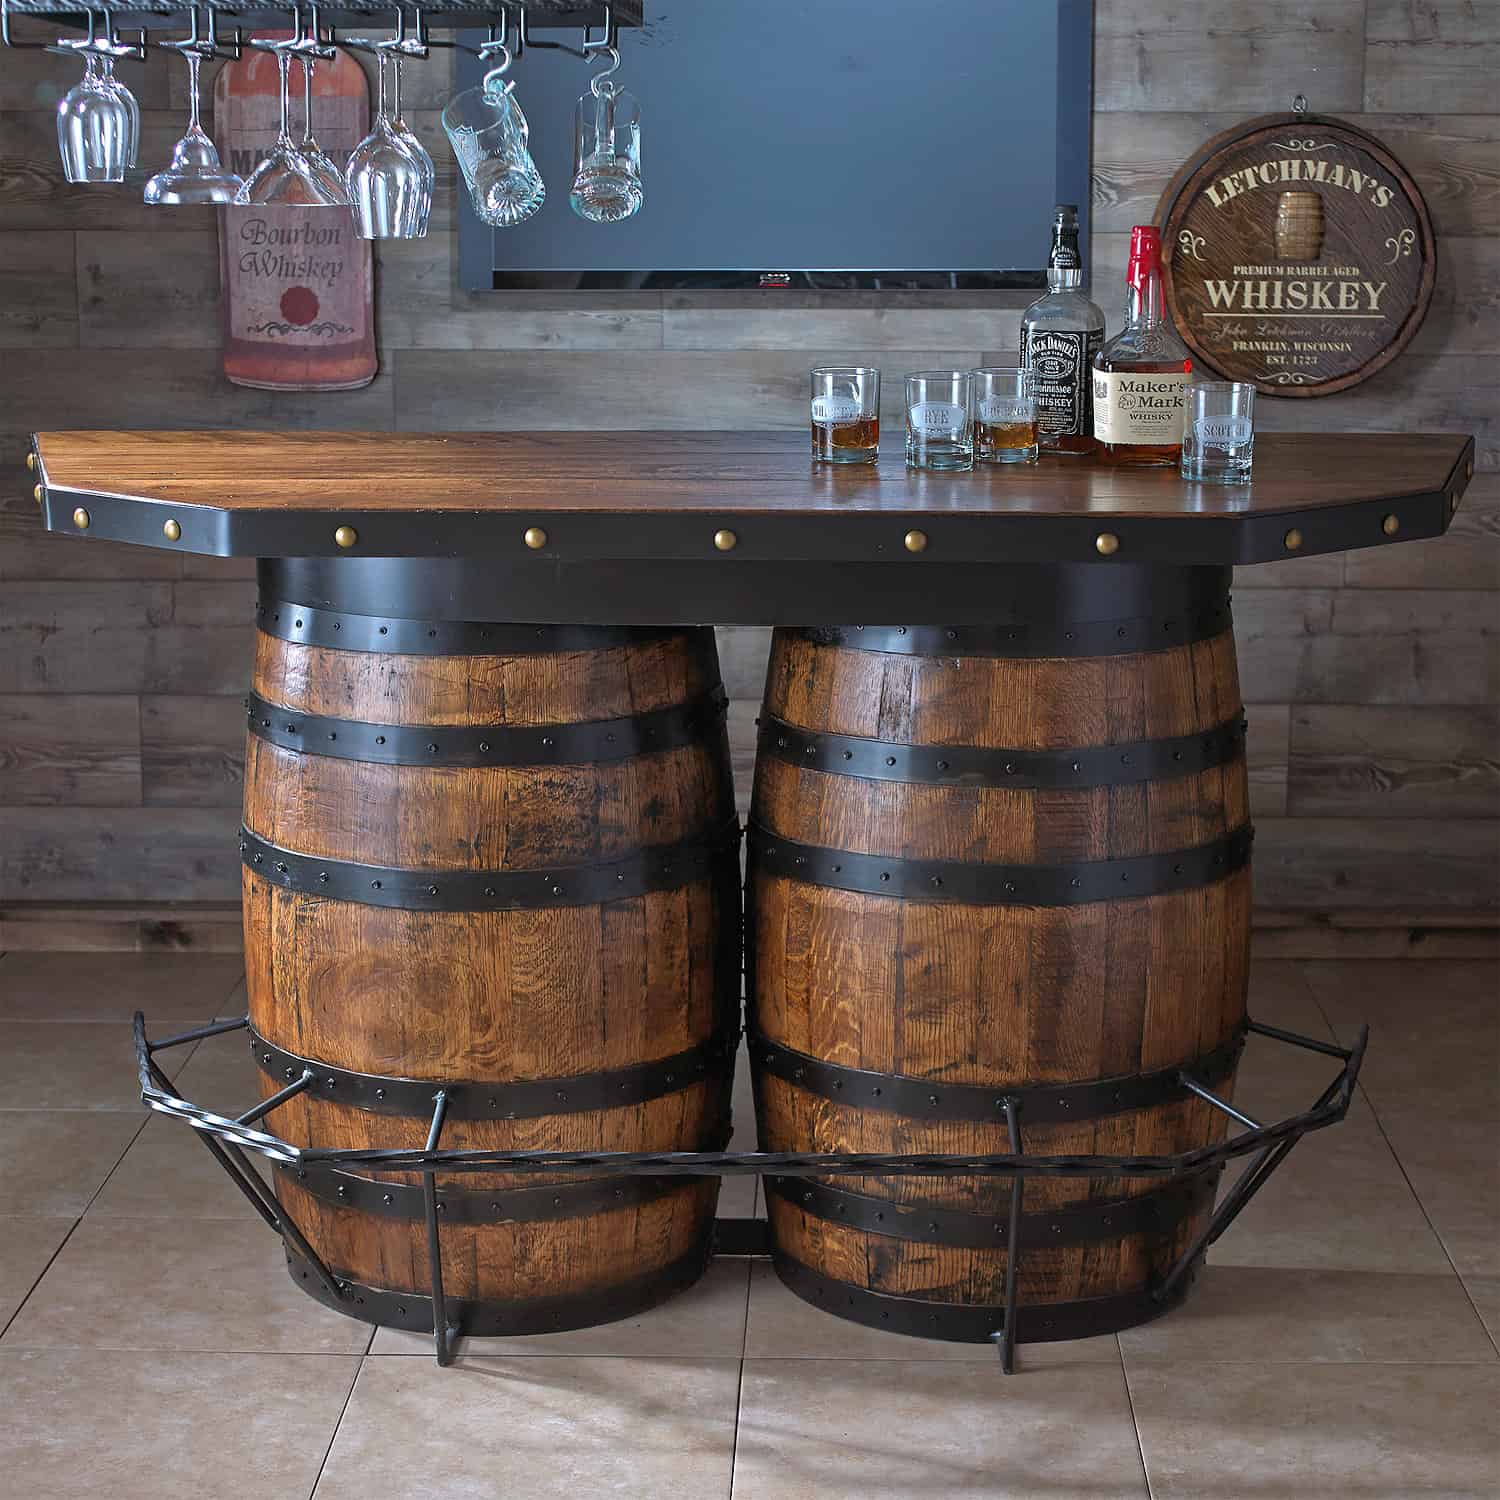
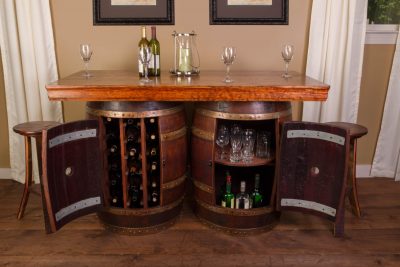
What I did was prepare a 3/4–inch piece of wood that can fit one end of the wine barrel. The diameter of the top of the wine barrel measures about 21 inches. The middle part is approximately 24 inches. I cut the wood as wide as the middle part. The length of the wood is determined by the number of wine barrels used multiplied by two. For example, since I used 2 wine barrels, my wood is 4 feet long.
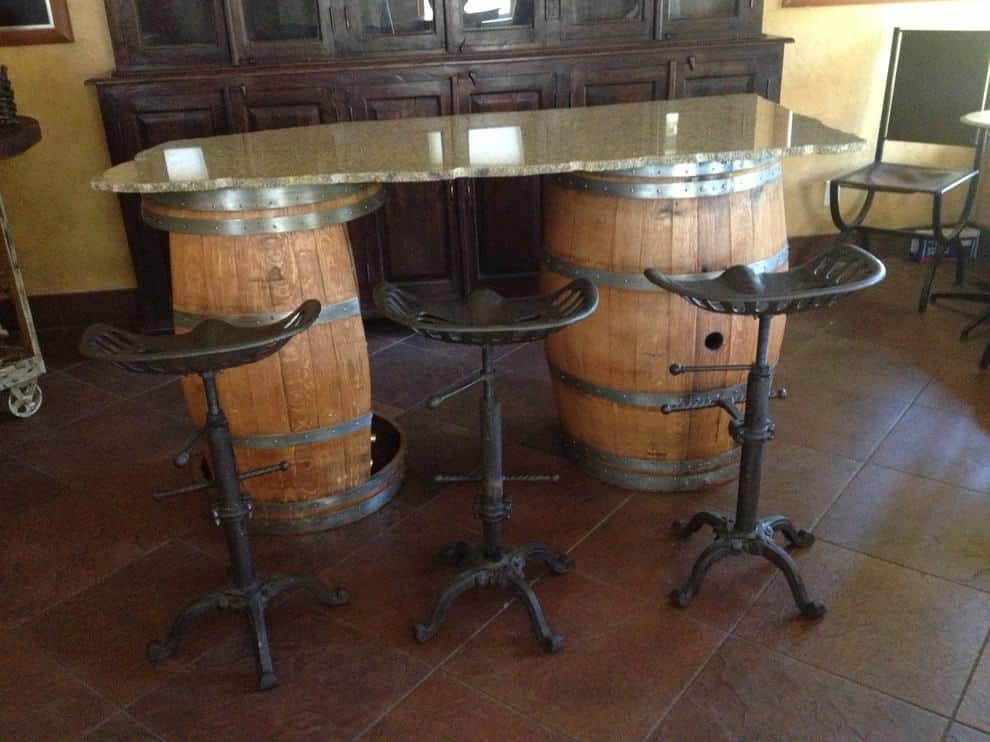
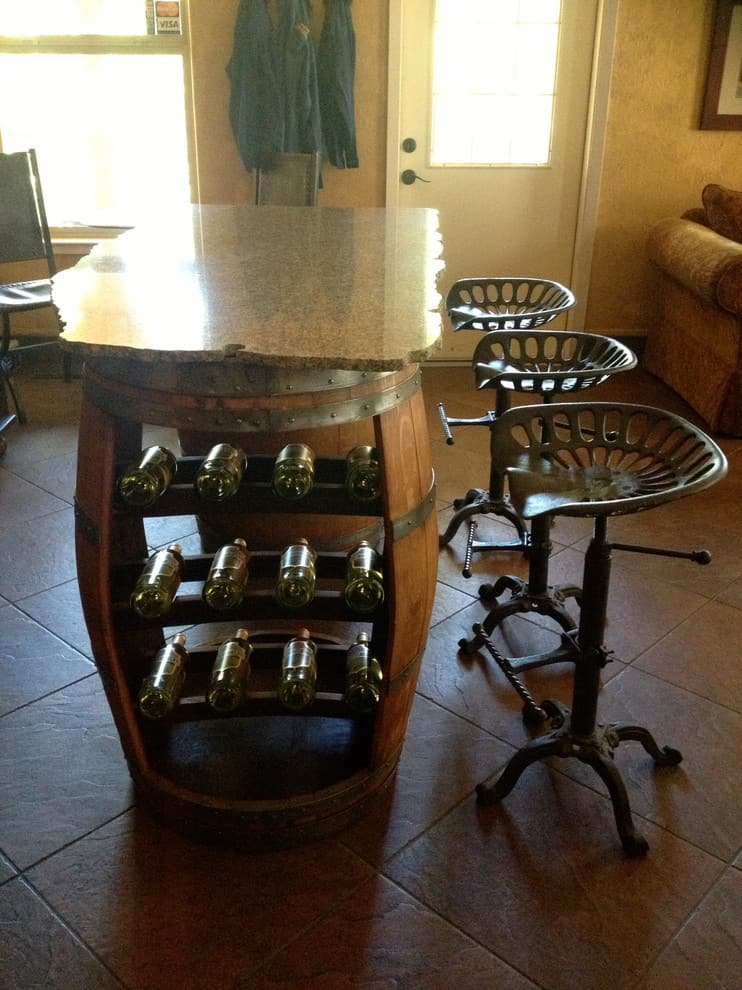
It is also possible to use granite as the table top on a wine barrel bar. There are granite supply shops that sell custom granite according to the your requirements.
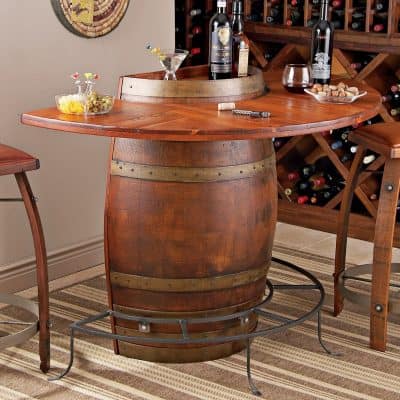
When making a bar out of a wine barrel, I found that the choice of table top is the best way to add personality to the bar table. There are so many options that choosing can sometimes be overwhelming. Tabletop materials that I think work well together with an old wine barrel are glass, stone slabs, old doors, and old wooden table tops.
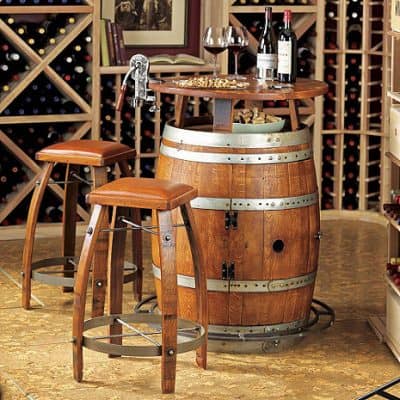
A DIY wine barrel bar makes it possible to infuse the feel of wine country into your home. It brings elegance and beauty to any part of the house. It's not only functional but also a great décor piece for wine lovers and enthusiasts.
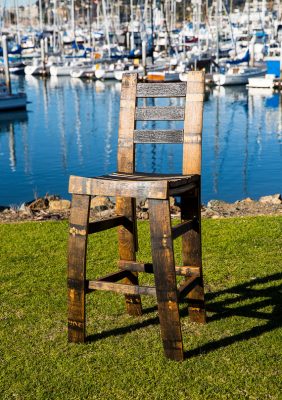
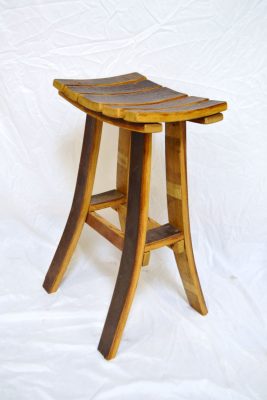
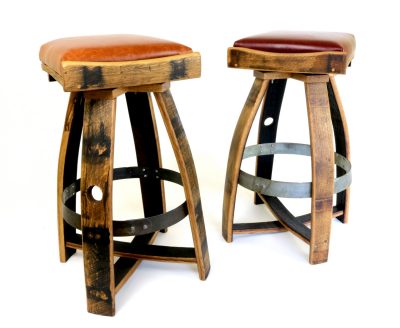
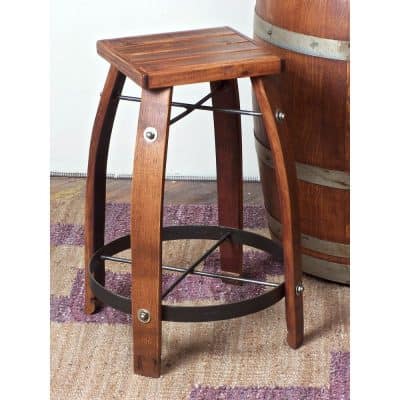
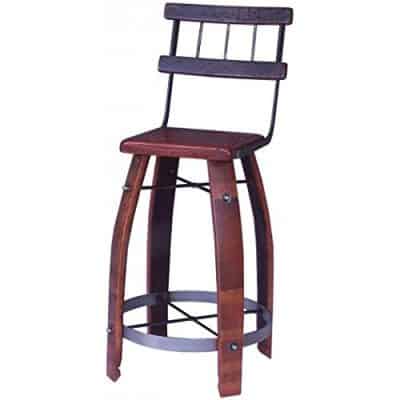
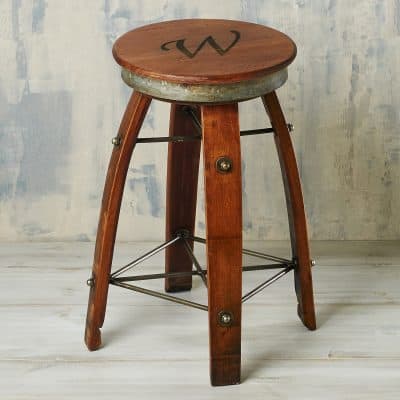
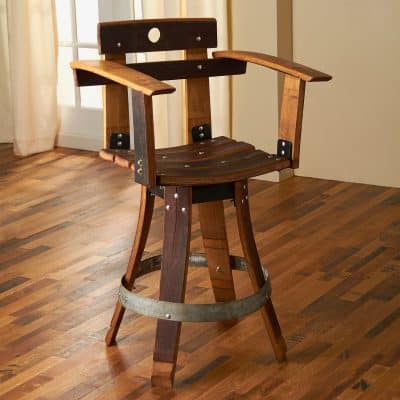
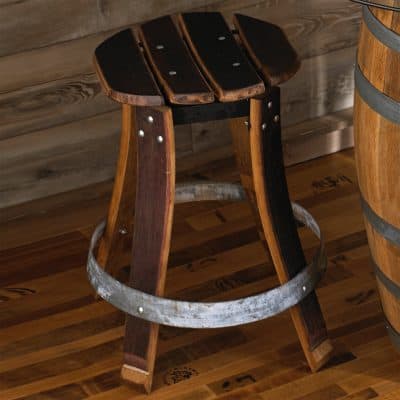
Wine Barrel Bar Stools
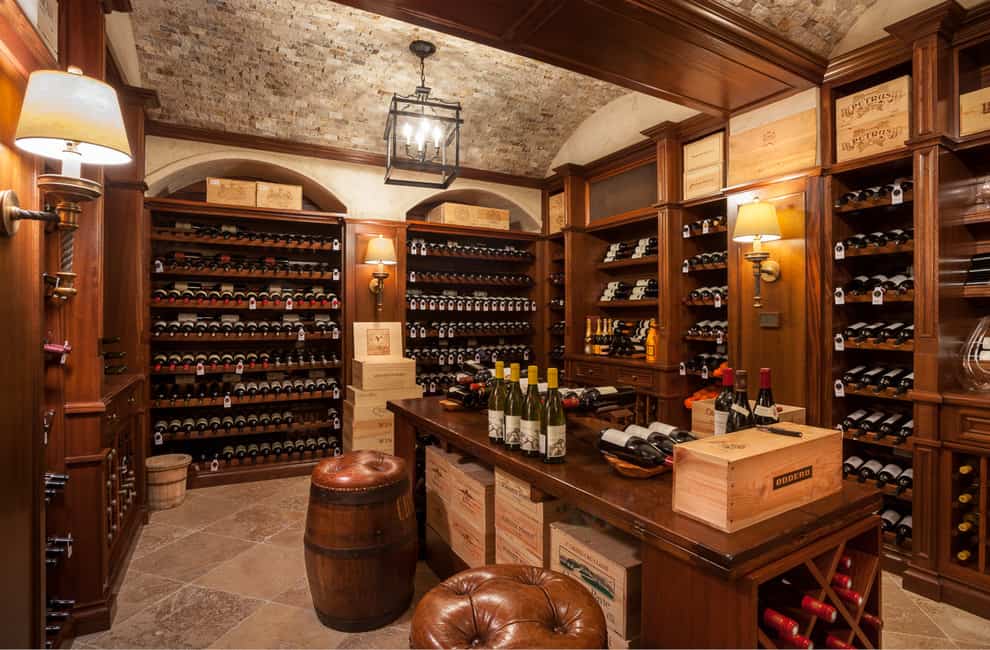
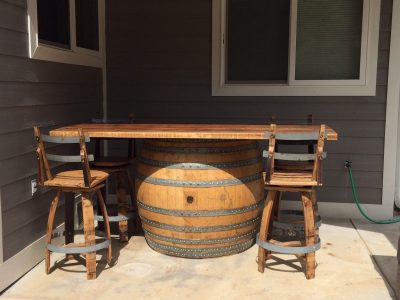
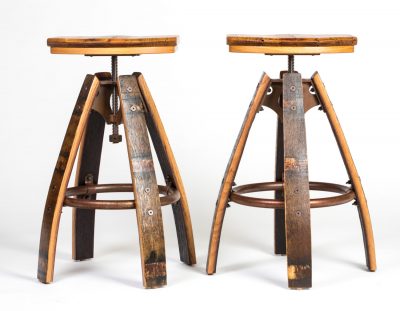
Wine barrel bar stools can be made with basic woodworking skills.
Here are steps I took to create a bar stool from an old wine barrel. For those who wish to try this project, remember that this process will only work with dry barrels.
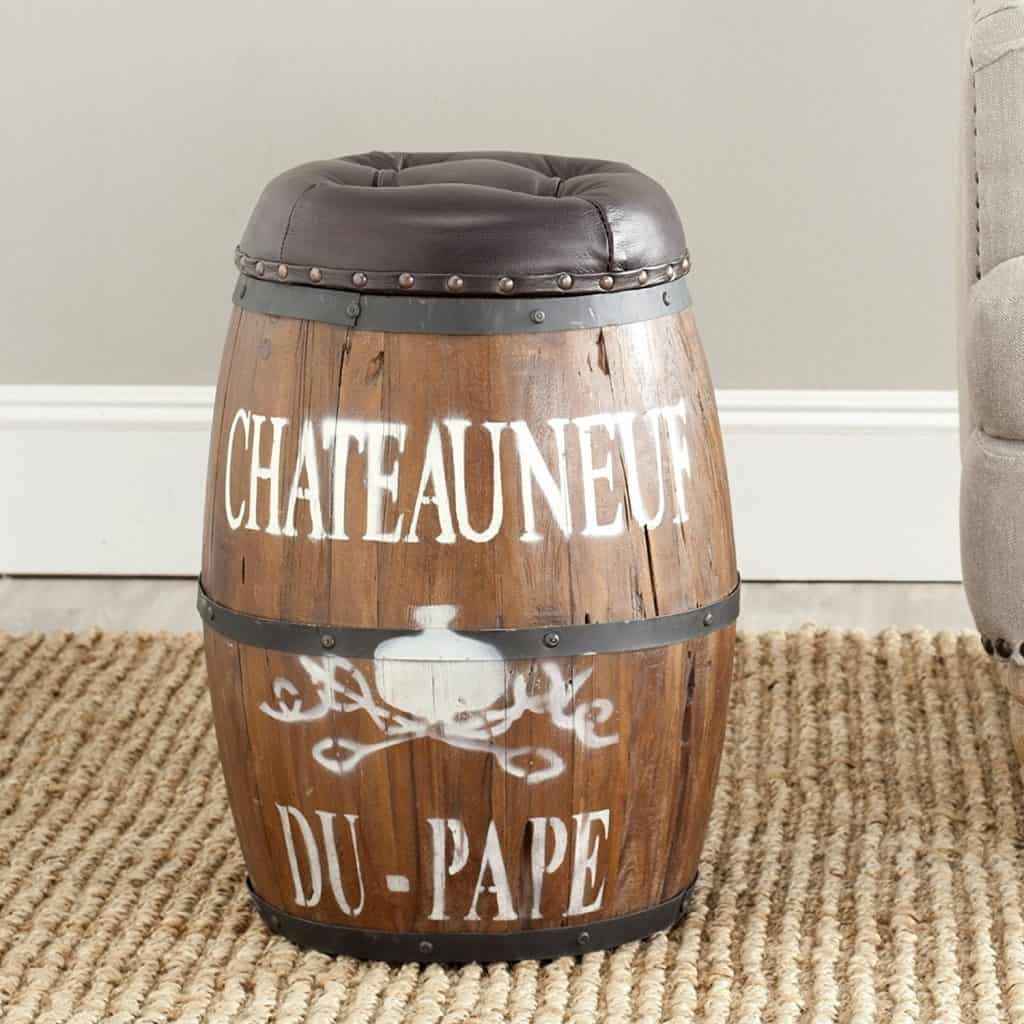
1. Clean the wine barrel.
As I mentioned, it is necessary to let the barrel dry before working on it. But before doing that, the barrel should be cleaned thoroughly.
You have to remove the traces of wine. Drop in a few wood chips and let the barrel sit under the sun for a couple of hours or so. This will dry up the wine. What will be left is a solid residue that can easily be scraped up. To remove the remaining residue, fill up the wine barrel with clean water then leave it again under the sun.
2. Cut the barrel.
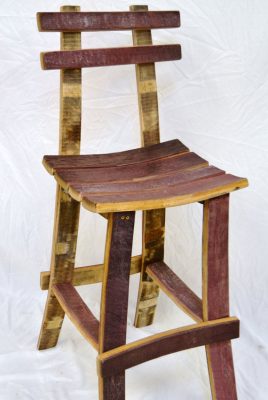
When the barrel is clean and has dried, it is ready to be cut into the different parts of a bar stool. The seat can be made by cutting out one of the end pieces. The rest of the barrel can be cut into four pieces. This will be made into legs.
The wine barrel bar stools from this project will have slightly curved legs which makes the stool unique. To make the foot rest or the braces, three strips of wood should be cut from the wine barrel. If there is not enough wood, it is fine to look for alternatives but this may need painting or finishing to make the color uniform with the rest of the chair.
3. Put the stool together.
Position the seat upside down, then nail the bracket under it. Take the four pieces of wood and nail them to the bracket. Let the bar stool stand and check if the length of the legs are even. If not, saw the longest leg to make the length even.
I had fun making something that resembles a mixture of beauty and functionality. The result of this DIY project is featured elegantly with my mini-bar. Wine barrel bar stools are quickly becoming a signature piece in both homes and commercial establishments alike. Being able to make my own is definitely something to be proud of.
Wine Barrel Cooler
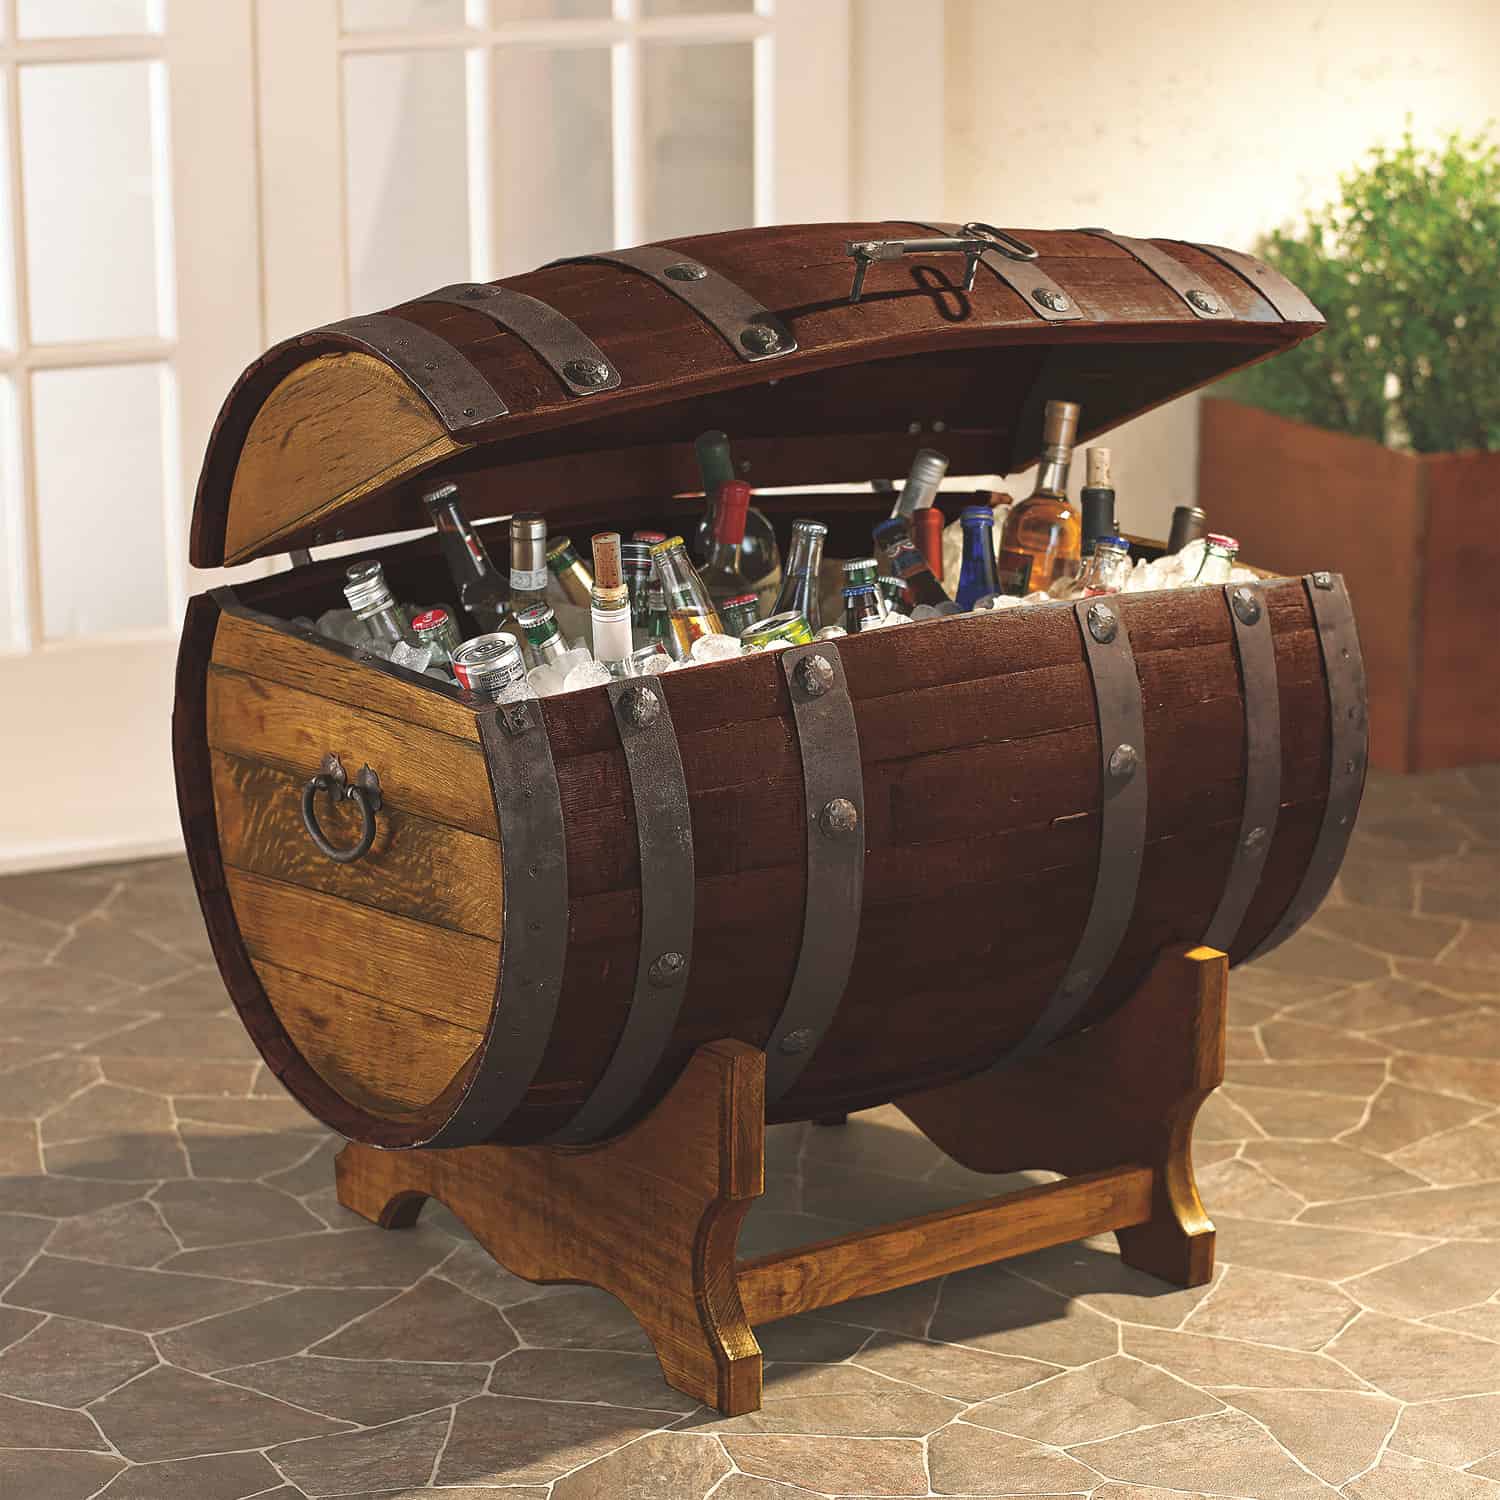
A wine barrel cooler is both functional and decorative. This is why I prefer it over the usual plastic cooler. I am a big fan of rustic décor so that must be the reason I like repurposed wine barrels.
There are many ways to repurpose a wine barrel into a cooler. Here are some ideas:
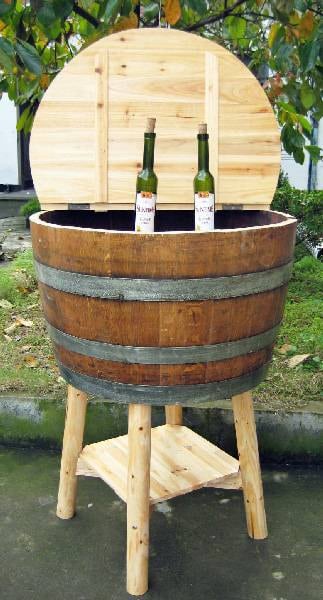
Cooler and table in one
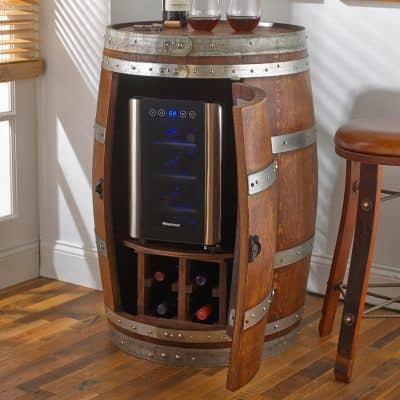
My most favorite repurposed wine barrel currently stands in my kitchen as a cooler and table combo. It is sturdy but still portable enough to bring to picnics and outdoor parties.
Half-barrel cooler
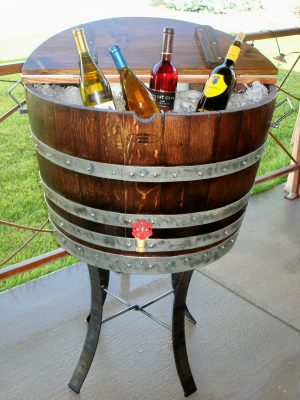
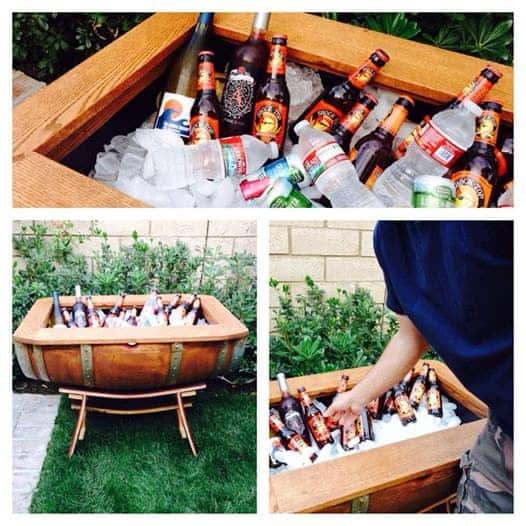
I used to have a half-barrel cooler. It was probably the easiest DIY project I have ever made in my entire life.
- The barrel was split into two equal halves around its widest part.
- To find the middle, I took a string then ran it along the length of the barrel then folded it into half. I used the folded string to mark the middle length.
- Since there was a metal loop that ran through the middle area, I had to make the marks an inch above it. Those marks served as my sawing guideline.
- The only tricky part of the project was the cutting. The barrel should be as stable as possible to make sure that the cut is smooth and straight. I used an X-frame sawhorse to hold it steady but two sets of stable hands would do. Once the barrel was already split into two, I used a medium-grit sandpaper to smooth out the rough parts.
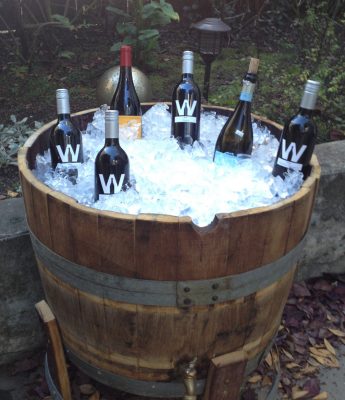
Repurposing a wine barrel into a cooler is a fun and useful project. It is something that I would happily do again if given the chance. The tools and supplies needed for a wine barrel cooler project are easy to find.
Wine Barrel Sink
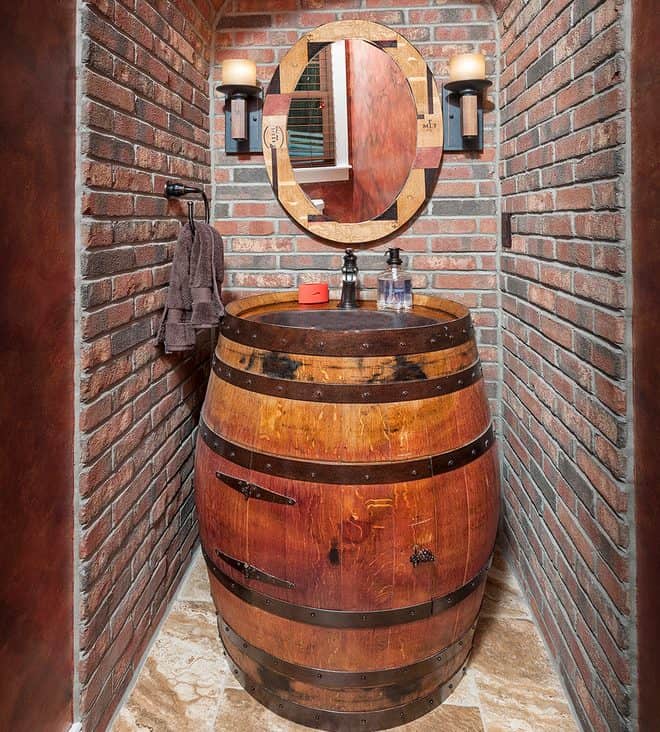
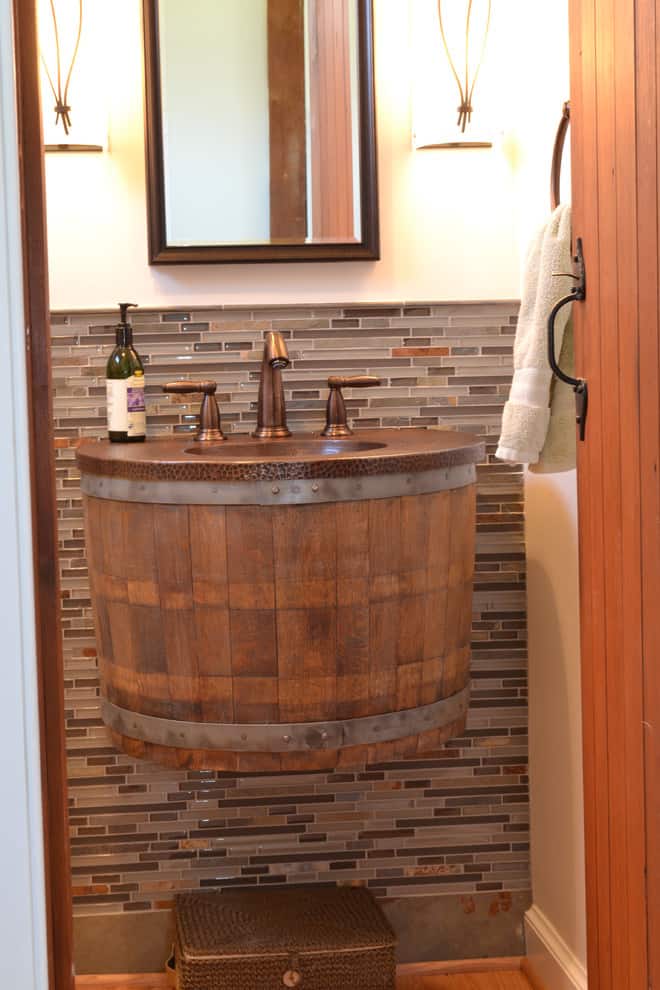
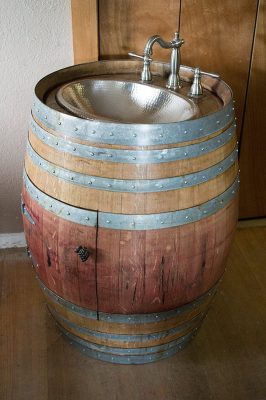
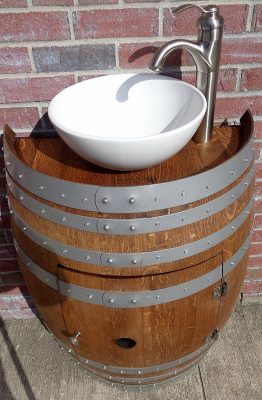
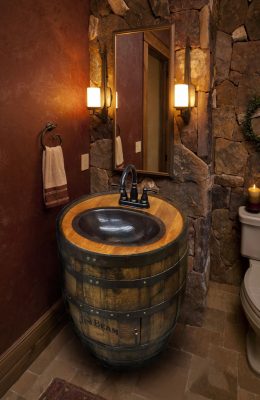
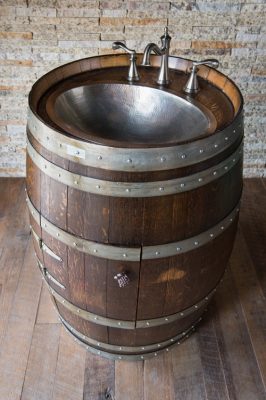
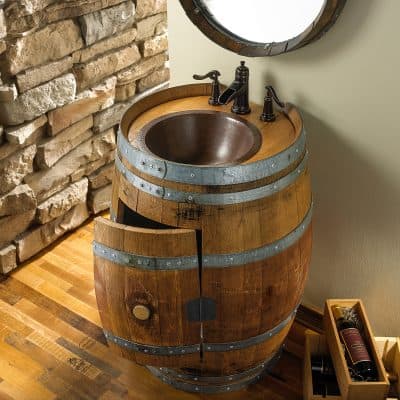
Creating a wine barrel sink requires that you make the wine barrel completely waterproof. I was able to do this when I wanted to create my own sink using a whiskey barrel. I know that the barrel was made to hold liquid but I want to make sure that it lasts long too.
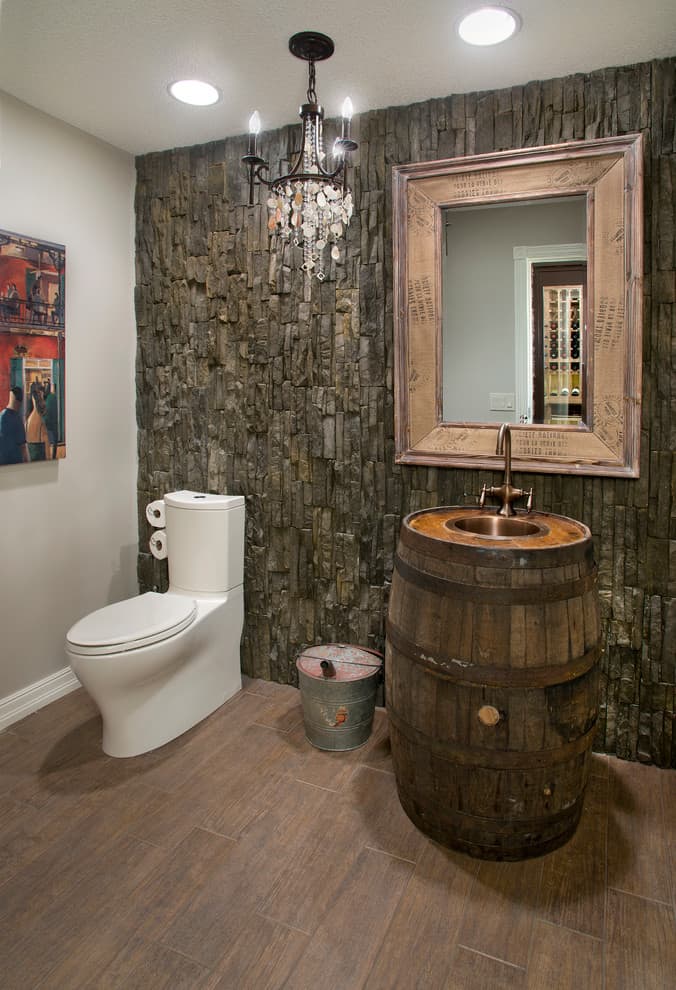
- The first thing I did was create a hole on one side of the barrel which will serve as an opening for the drain.
- When this was done I secured the original metal rings that hold the barrel together. I drilled additional screws where necessary.
- The next thing I did was determine the dimensions of the barrel so that I can prepare the right size of plastic liner for the wine barrel sink. This is tremendously important to avoid unnecessary leaks and of course make the sink look as presentable as possible. The plastic liner will be used to give the sink a longer life span, protecting it from getting rotten. I used a flexible plastic liner that I placed snugly all over the insides of the barrel. I wanted to make sure that it does not crack. I figured that it will easily crack if I am not able to fit it perfectly inside the barrel.
- To help keep the plastic liner in its best form I used a few large rocks inside the bottle into its bottom. This was a tricky part because too much weight can also be detrimental to the project. I was worried that there will be water leaks so I needed to test everything. I filled it with water in case I did not notice any rips or tears in the plastic liner or even the barrel itself. After making sure that the wine barrel is in perfect condition, I am ready to attach the sink and faucet on top of the barrel.
- An opening should first be made on top of the barrel. I traced the sink and faucet using a jigsaw. This is why it is important to choose the sink and faucet before starting the project. The right size of nails and silicone sealant plays an important role in this step or else I would not be successful at securing the sink and faucet.
- The trickiest part for me was attaching the hookups and the drain inside the barrel. I needed the help of someone more experienced in this thing and I'm lucky to have a friend who has enough knowledge.
This DIY wine barrel sink is a great project for people like me whose home reflects their love for wine. Too hard to DIY? Here are some you can buy!
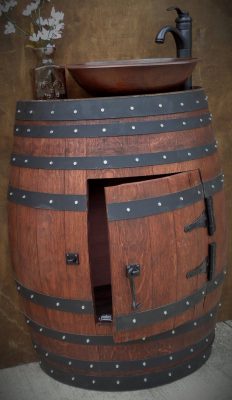
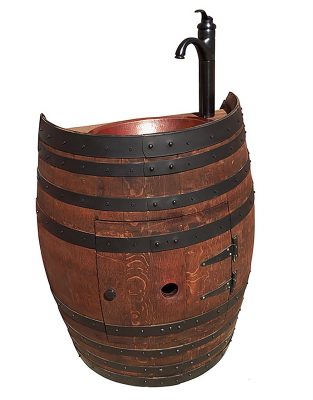
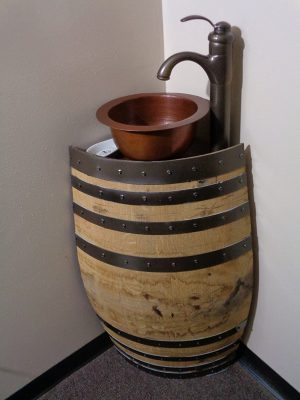
Want more Bathroom Ideas or Bathroom Vanity Ideas? We have lots more to show you!
Wine Barrel Planter
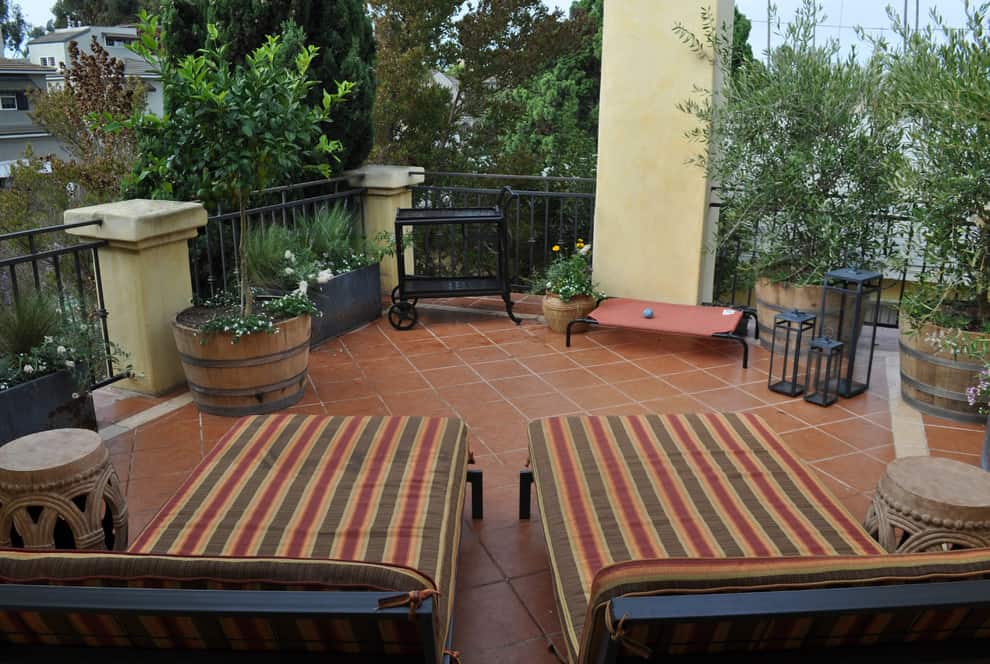
A wine barrel planter adds a "countrified" feel to a living space. I especially prefer to place them in patio gardens. They are perfect containers for herbs, flowers, and even small trees. Drilling holes in the bottom of the barrels is necessary to keep water from overflowing or staying inside the planter. The holes should be about an inch. This will be enough to keep the roots from drowning.
I personally love looking at dainty flowers planted in wine barrels because it sort of creates a contrast. Wine barrels seem masculine while the flowers are fragile and more on the feminine side.
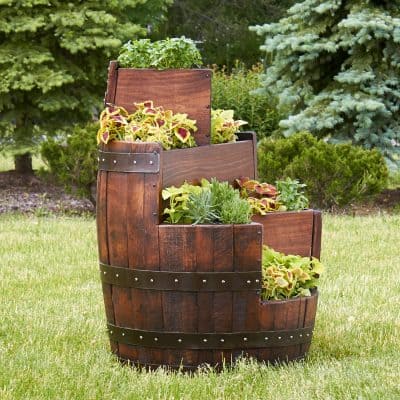
Wine barrels are just the perfect height or size for draping plants and those that have flowers that grow tall. Sweet pea plants are especially beautiful when they are draping gracefully from a wine barrel. A wine barrel also adds drama to snap dragons and delphiniums because of their height. The best idea belonged to my aunt who planted different kinds, colors, and sizes of flowering plants in one barrel.
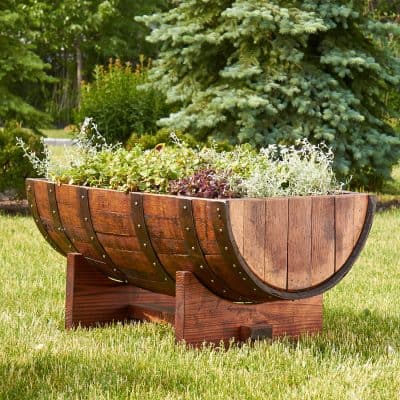
Vegetable gardeners can also benefit from old wine barrels. This is especially true for those who are living in the city where condos and apartments have relatively small patios. There are many leafy greens that can grow well in wine barrels. My personal favorites are kale, bell peppers, and tomatoes. My only advice is to keep it in the spot where sunlight is sufficient, especially during the morning. Wine barrels, when already filled with soil are really heavy, so it is best to find that spot where you want it before filling. I would recommend planting herbs like basil and parsley for those who love to cook.
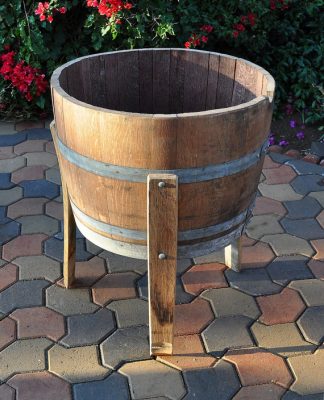
Ornamental plants also make great wine barrel planter fillers. I would suggest using foxtail ferns or rice cactus then throwing in some peach melba for a pop of color. Homeowners who prefer the more colorful variety should go for coleus. Mixing green plants with other colors makes the whole set up look like a scene from Alice in Wonderland or my other favorite, Ferngully.
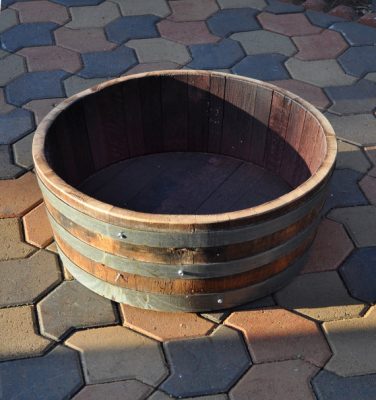
There are a lot of fruit trees that can grow really well in planters especially something as spacious as a wine barrel. This is mighty helpful if the climate in the area is not good enough for growing trees in-ground or if there is not enough space for the tree to grow. Dwarf tree varieties which do not grow as tall as the standard varieties are easy to grow in wine barrels. Japanese maple trees are my personal favorite as well as the kumquat tree. I currently have key lime growing in my own patio garden.
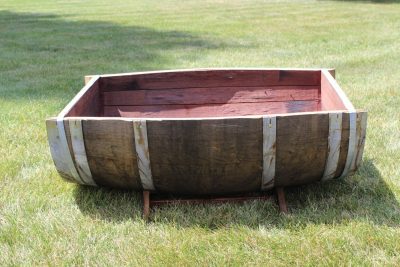
The first time I tried using a wine barrel planter, I forgot to drill holes in the bottom. After a few attempts, I now have found an efficient system of preparing those barrels for planting. I definitely recommend keeping a garden journal for those who are seriously considering this as a hobby. The journal will help in finding a good system for planting in a wine barrel.
Wine Barrel Dog Bed
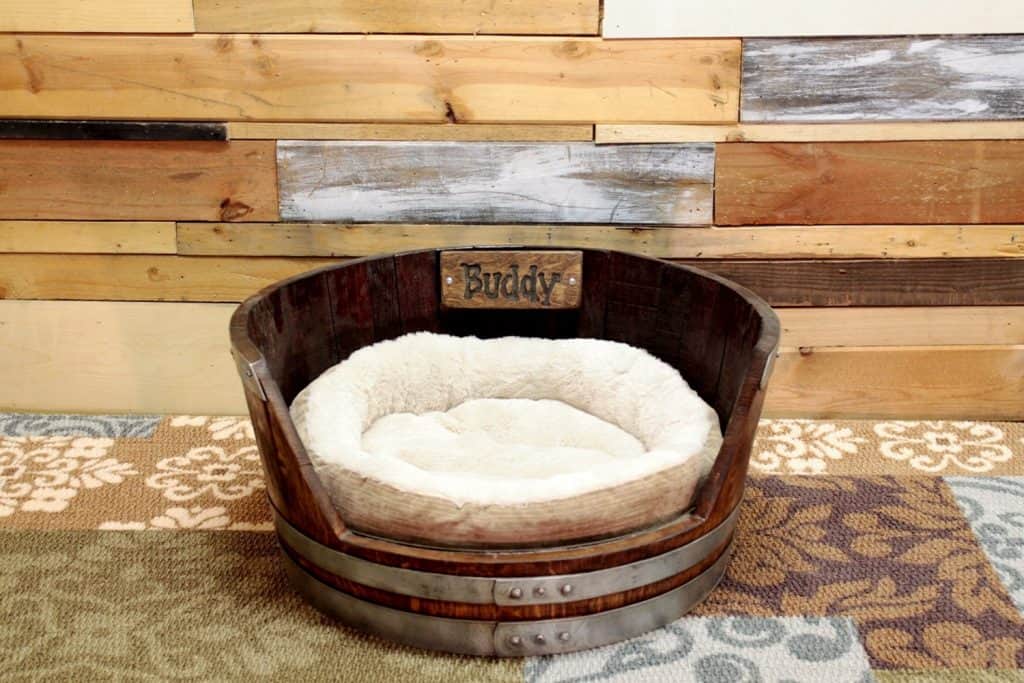
Whether it is a wine barrel dog bed or vinyl weave, it is important that the dog feels comfortable sleeping on it. When choosing a dog bed, I always consider the dog's age, size, sleeping habits, and the quality of the dog bed. Because there are many types, designs, and materials of dog beds, it is necessary to make sure that the dog bed I buy is suited to my dog's breed.
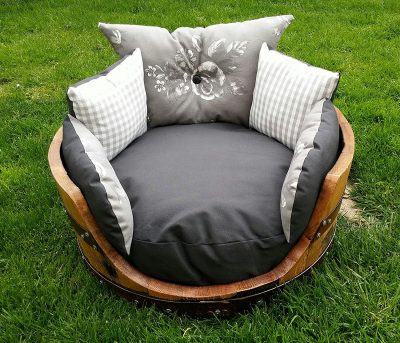
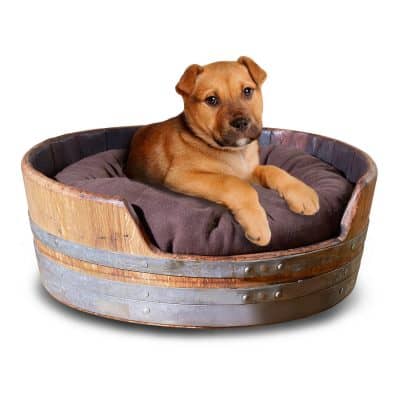
My pet is less than a month old. But I want something that he will grow into. I don't want to spend more money on another dog bed after a few months or so. I also want it to be washable or easy to clean. This is why a wine barrel dog bed is one of my top choices. It can be washed without the fear of it rotting or crumbling. It is also inexpensive.
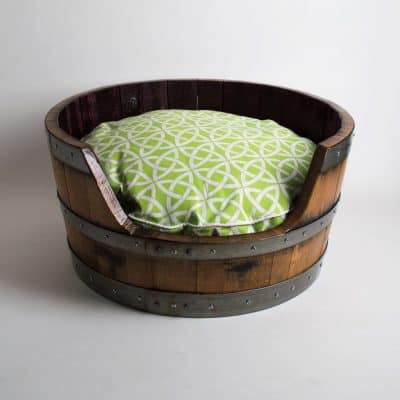
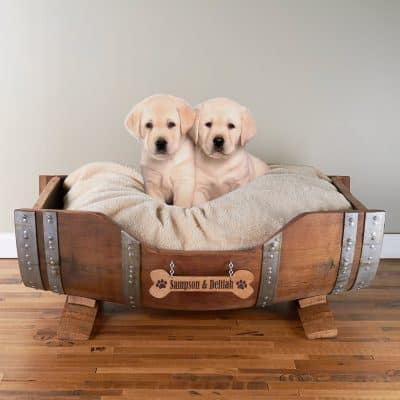
It can even be made using the old wine barrels I already have been saving for a while now. I also want to add a washable cover for my dog bed so I can wash it when it starts to smell. It is also important that the dog bed is a bit stylish or elegant so it will not ruin my home's décor. I am seriously considering something that is color-coordinated with the rest of my living room.
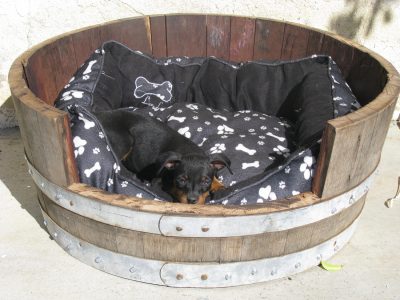
Puppies are an accident-prone and really destructive. Cushioning is not important to me because my puppy is still light. She will not weigh down the cushion even if she sleeps all day. Dog bed cushions are not expensive anyway.
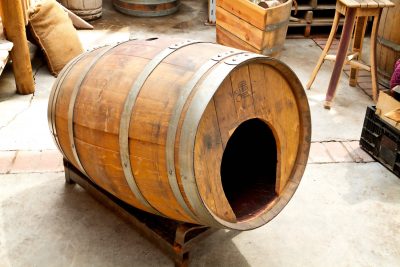
The dog bed should also be easily accessible. I want my puppy to be able to get in and out of it without needing my help. My puppy likes to stretch out and burrow her face when she is sleeping. This means I will need a large dog bed with enough room for her to stretch.
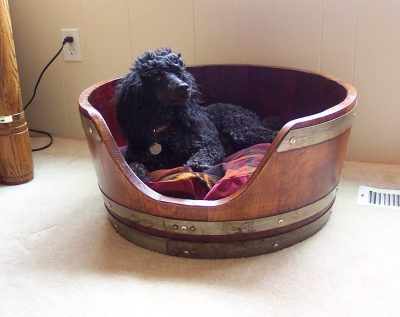
One of my utmost concerns is keeping fleas off of my puppy. Luckily, I found a wine barrel dog bed that is made of cedar wood. Cedar repels fleas according to my veterinarian. However, cedar is dangerous to cats when tiny particles from the material are inhaled. I guess I have to forget about adopting a cat :).
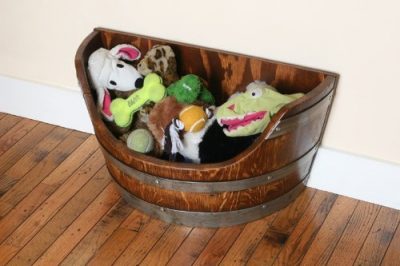
I am happy to find something that answers my primary concern which is raising a healthy, well-rested, and happy dog.
Wine Barrel Hammock
The sturdy wine barrel staves make a perfect hammock where I can lounge or even take a nap! It also makes a great garden or landscape décor. All I need is to add a few pillows and a blanket and I'm all set for a relaxing time.
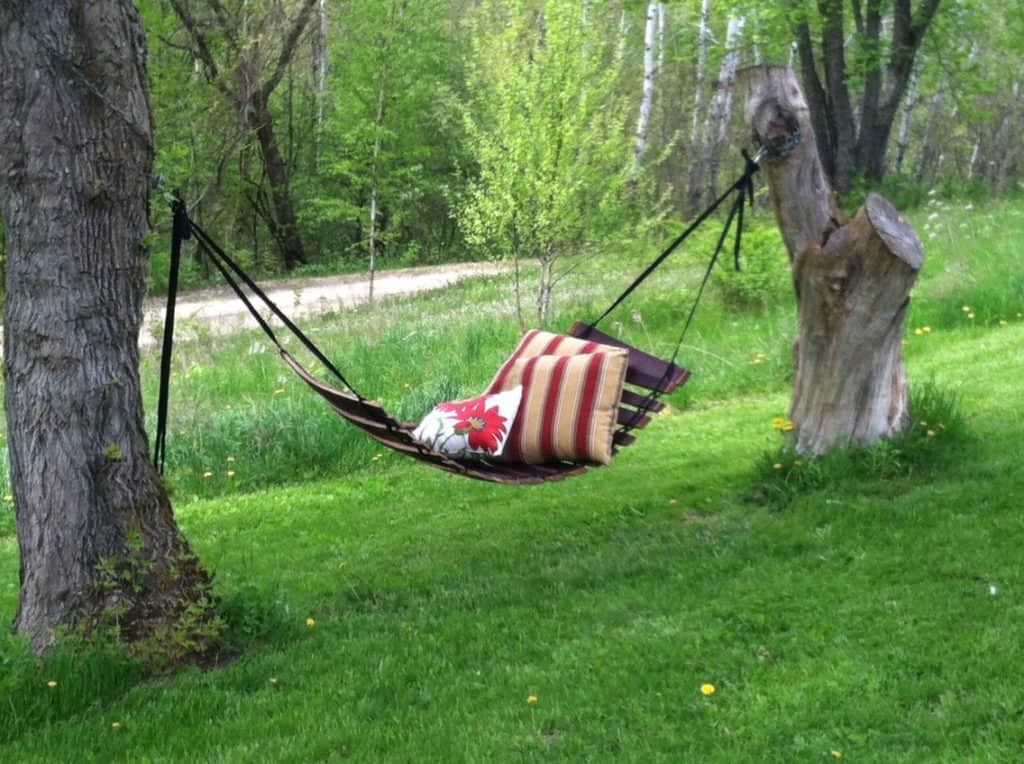
Wine Barrels are extremely versatile piece is why it is easy to turn into a furniture.
I like coming home to my humble yet polished home. My wine barrel chairs give me comfort after a long day at work. This is why I gave all I can in maintaining their beauty and function.
Source: https://www.decorsnob.com/wine-barrel-furniture-ideas/

0 komentar:
Posting Komentar